I have created a tutorial on how to repair your Singer Touch and Sew 603 tension assembly. My Singer Touch and Sew Tension assembly was reassembled incorrectly by previous owner, so I had to redo it. My tutorial shows you how to disassemble and reassemble your Singer Touch and Sew.
|
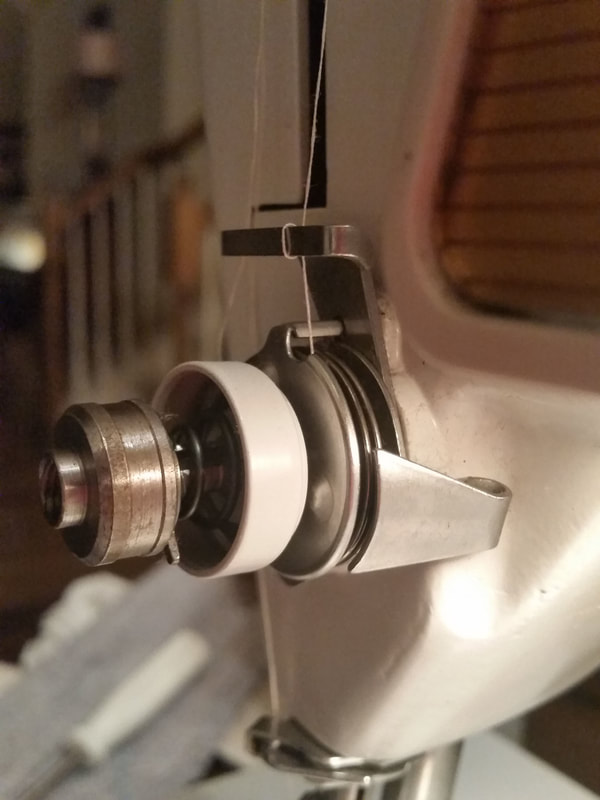
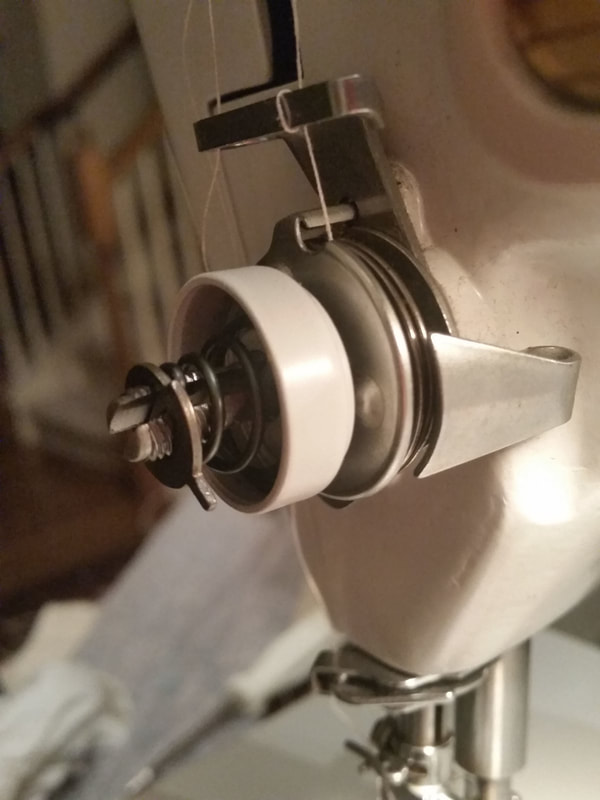
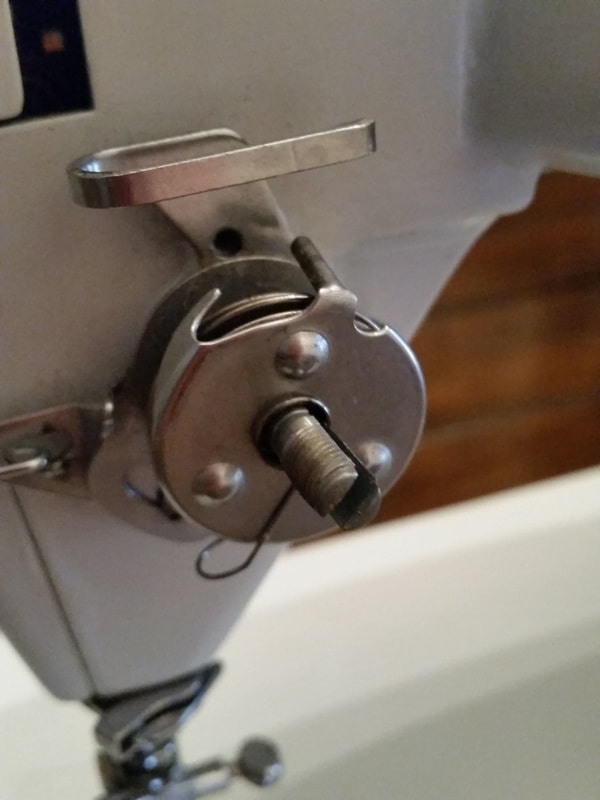
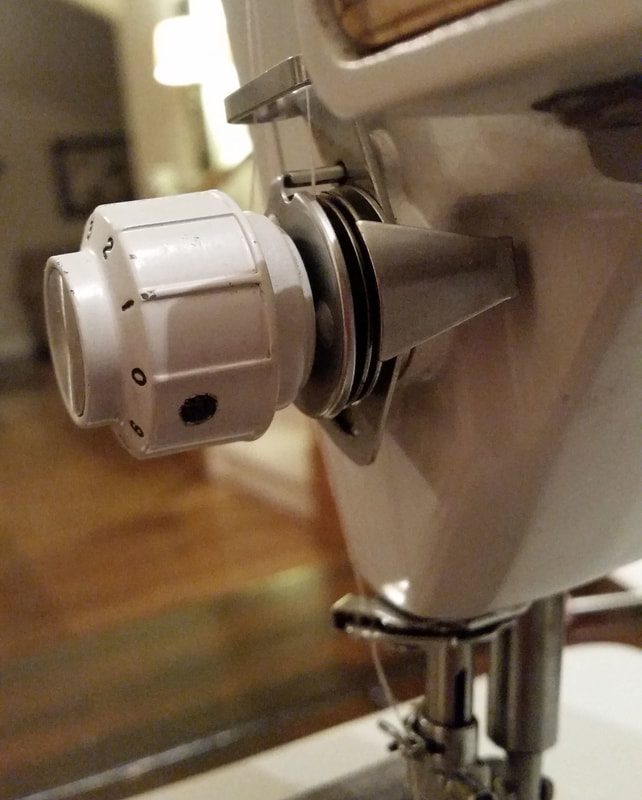
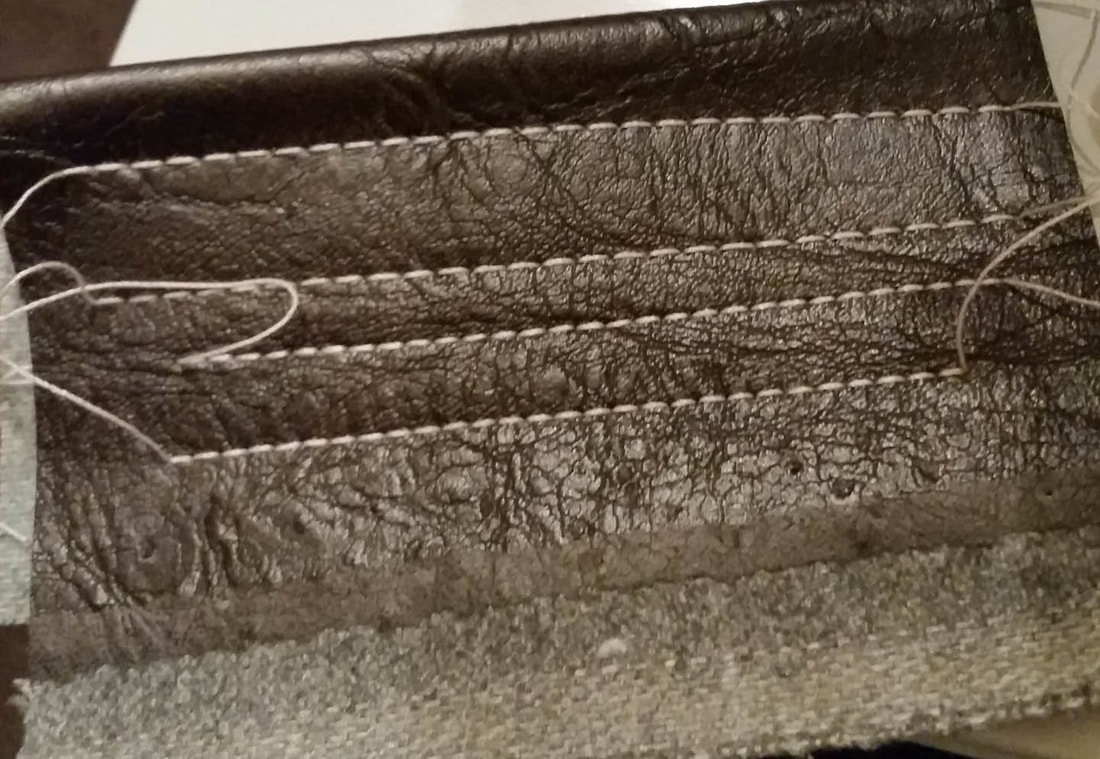
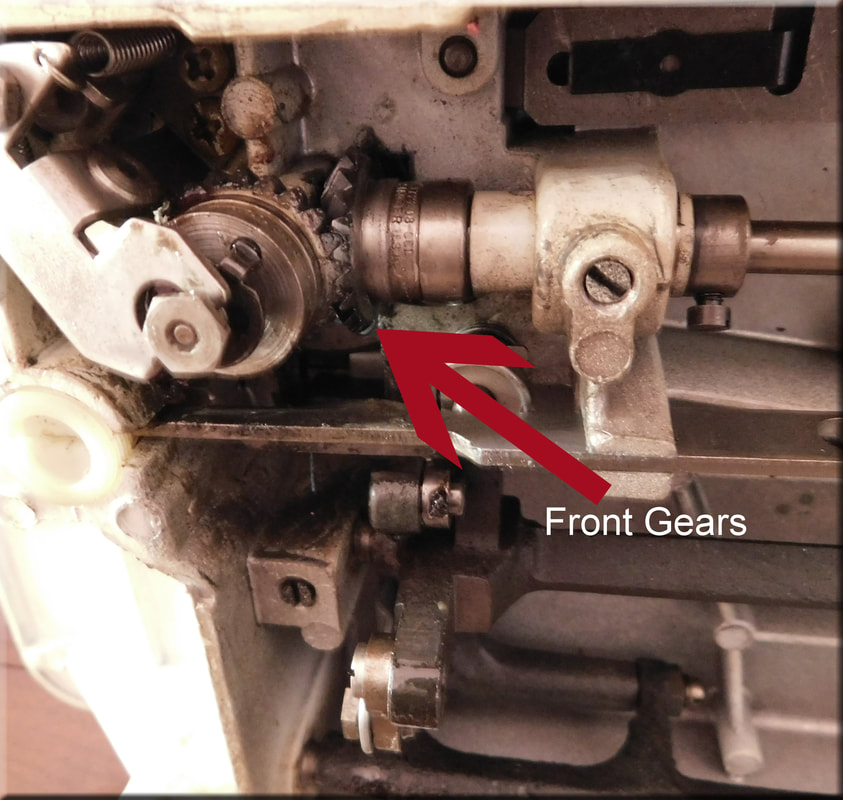
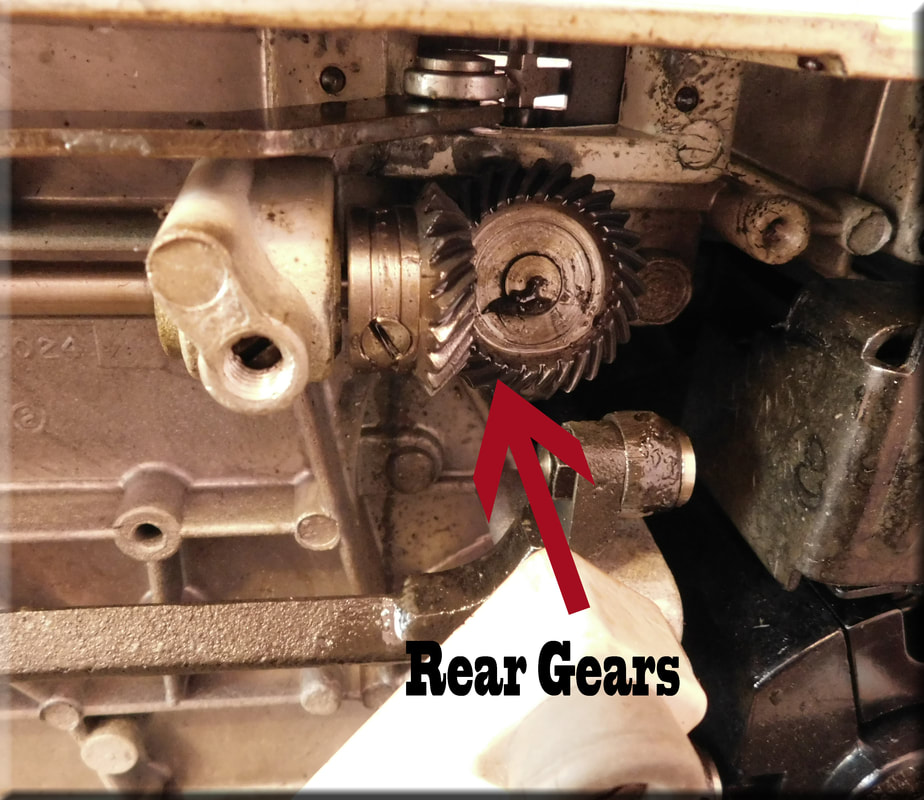
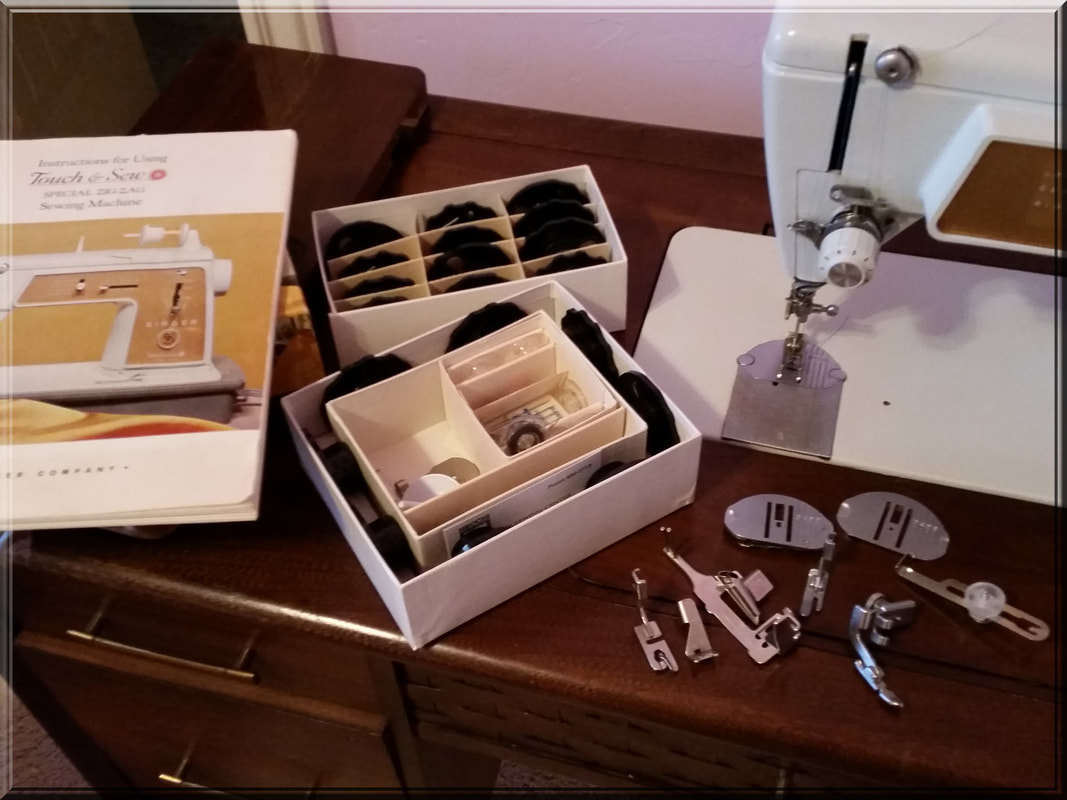
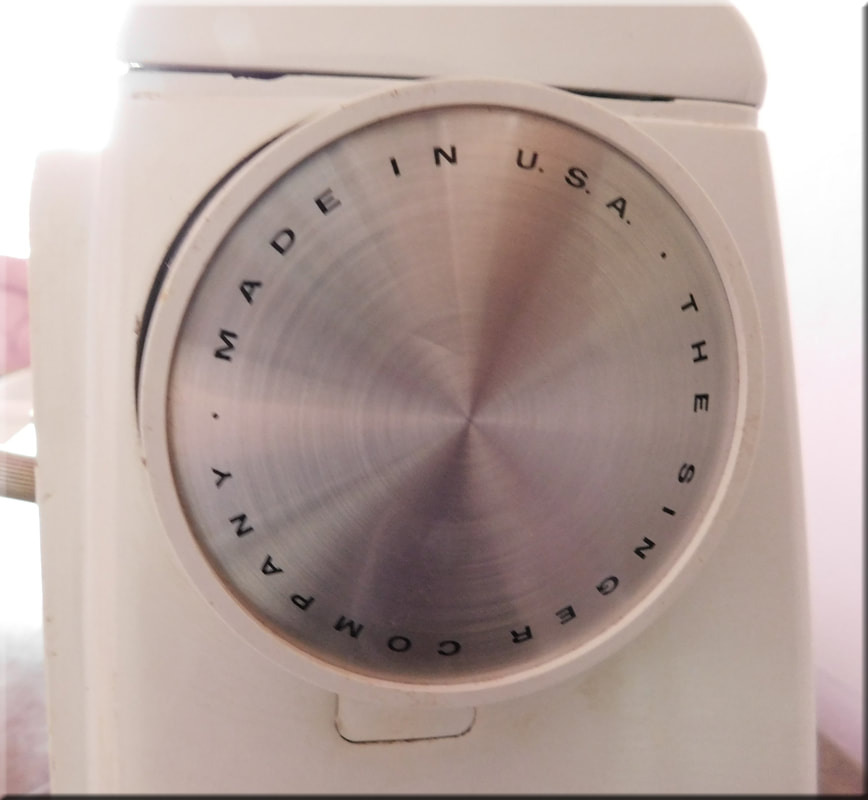
After a couple of days of test sewing on my Touch and Sew, I was becoming a little annoyed at always having to pull out 6-8 inches of thread before placing the needle In the fabric to begin sewing. My tension setting was on 3. I changed the dial to 1, and it was still too tight. I sew with my tension dial at 3. If I had checked it sooner, I would have discovered that the dial was off. I decided that I would have to take the tension assembly apart because the problem was not going to go away on its own. I did not want to take my $30. machine to a repair shop and be charged more than the machine cost, so for 2 days I researched how to disassemble and reassemble the tension assembly. I took a few pics as I dissembled some of the parts of the assembly . When I took the dial off, It looked as though someone realized they had a tension problem, too, and wanted to fix it without taking it to a repair shop. If you know how the tension assembly is put together, can you spot the mistakes made? After removing all the pieces, I wiped them down with alcohol to remove the oil. After cleaning I began to place them back on in the correct order. I then realized (first mistake) that the stud was not at 180 degrees. If you look below in pictures 2, 3 and 4, it looks like it is somewhere around 100 degrees. I tried turning it back to 180 but had to get hubby's help. There is a screw inside the nose of the machine that I should have loosened to turn the stud. The second mistake is the Pin with the finger that you see in pics 1 and 2. I watched several videos and each person stated the pin must always be pointing up. In the pic it's in a 5 o'clock position. Well, I placed the pin in the 12 o'clock position, placed the dial (last step) on. Instead of the dial going from 0-9, it went from 4 and back to 4. I just knew that I was doing something wrong because each person who demonstrated how to assemble the tension assembly said the pin must "always" be in the up position. After 30 min or so, I knew that this was not true for the Touch and Sew 603. The pin had to be in the down position (6 o'clock). After I repositioned it and placed the dial on, the dial went from 0-9. The last picture shows the tension assembly repaired and cleaned. I plane to do a video sometime soon to demonstrate how to disassemble and reassemble the tension assembly. Well, I purchased another Singer Touch and Sew model 603. This one will be my backup machine. I really do love these machines because the stitches are perfect. I have researched information on this model and learned that they were more disliked (nicknamed "Cuss and Sew") than liked, and it was mainly due to the bobbin system. I was just tickled pink that I could wind the bobbin while it was still IN the bobbin case..how is that not amazing technology? And, from what I read, Singer was the only sewing machine manufacturer who had this technology. I bought my second 603 within a couple of weeks of purchasing the first one. I paid the same amount for this machine as I did my first 603. A button hole attachment was included with this machine. She had been in storage for quite sometime collecting dust. So I wiped her down with alcohol and liquid dish detergent. After a good wipe down, I decided to see how she would run (this is before I oiled her). She started out really sluggish, and as I pressed the foot pedal harder she barely budged. I thought I had bought a lemon. I began chastising myself for not testing the machine before buying. So, I removed the top cover and began cleaning and oiling the parts labeled in the owner's manual. I then removed the bottom cover to clean and oil all parts as instructed. I plugged her back up and she practically took off piercing the fabric with those perfect stitches. In the previous post I mentioned that I (with the help of hubby) cleaned her off. The next day I did oil her but missed a few spots. Today, I opened the bottom and oiled the missed spots and placed more oil on the other areas the manual shows. After I giving her more oil, her parts are moving much better. I have read that Singer stopped using the metal gears after the Touch and Sew model 604. I'm not sure if they stopped using them on just the Touch and Sew models or their complete line of machines. I am posting picks to show that the gears are all metal...I guess that's why I love the sound of this machine when I sew.
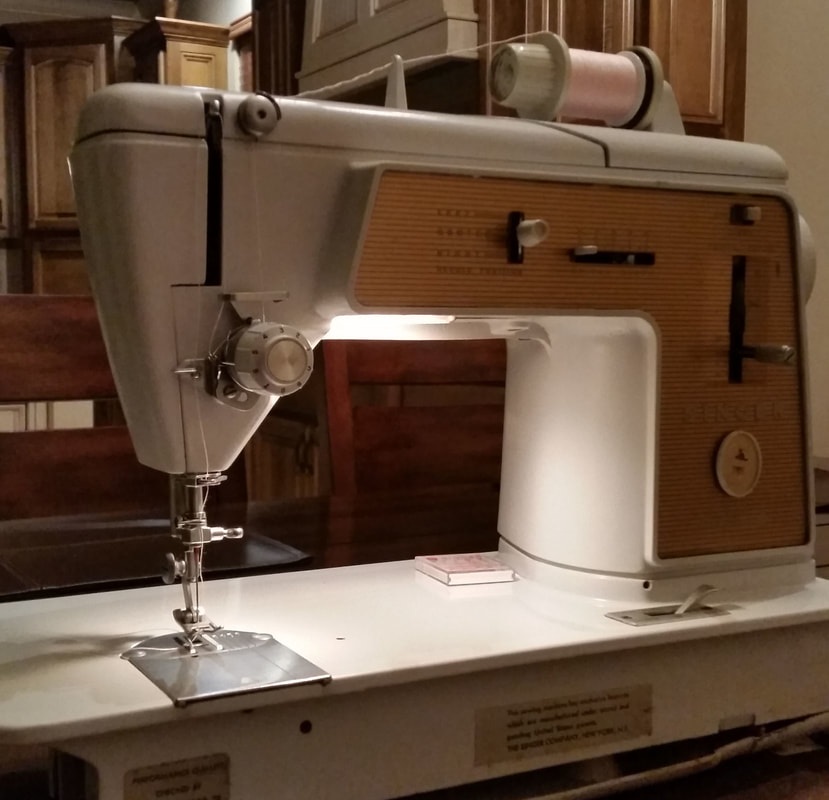
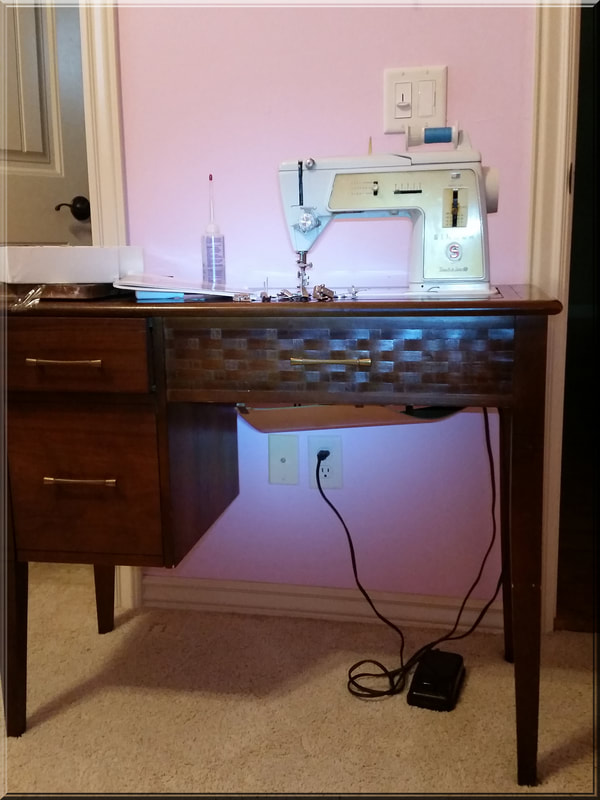
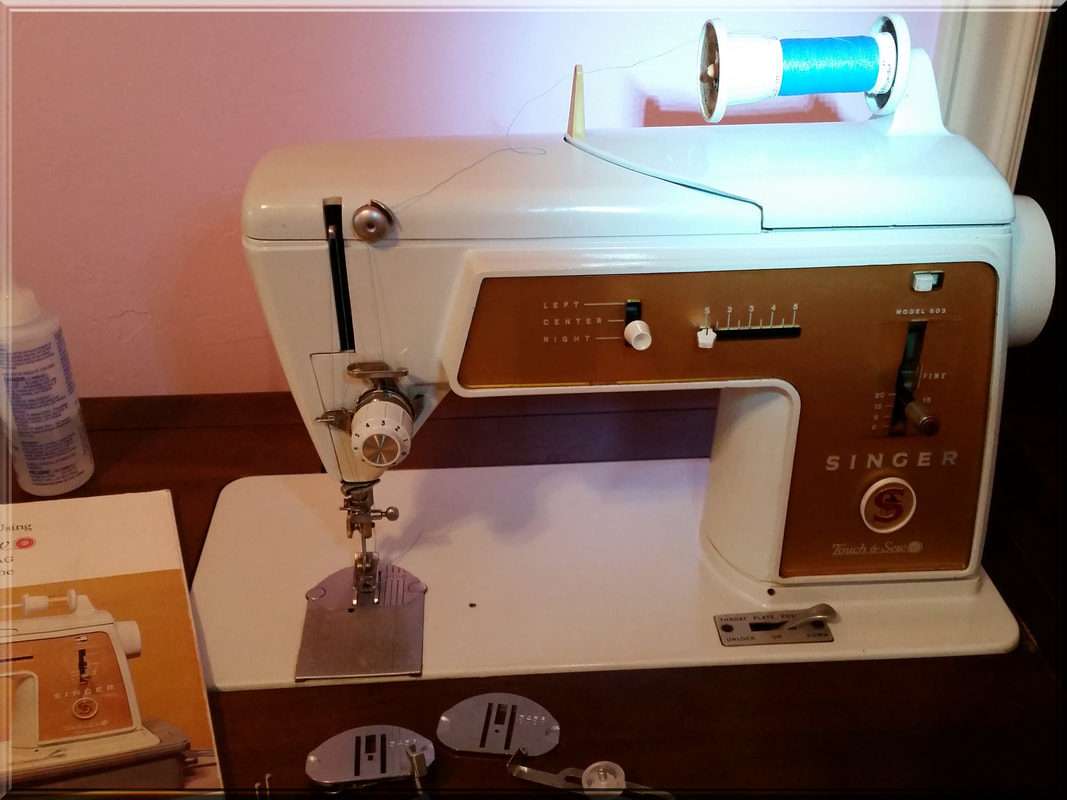
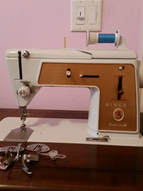 Singer Touch and Sew 603 Singer Touch and Sew 603 Oh, my goodness, look at what I found!!! I have seen so many comments made on different sewing forums from sewists/seamstress' alike.. who have found and purchased old sewing machines and have discussed how much they love to sew with these machines. So, I decided that I would begin a journey in search of one for myself. One Sunday afternoon after my husband and I had finished eating, I looked across the street and noticed a goodwill store. I could have sworn It was beckoning me to come over and see what was in "store" for me. I told my husband (not about the beckoning part) that I wanted to go inside and have a look. I didn't get my hopes up that I would find my "dream machine". As we walked past the mile of clothing, I spotted something from afar. Could it have been what I was looking for. Desperate, I sprinted away from hubby, passing the mile of clothing and reaching the furniture or electronics section (clerks weren't sure which section it belonged in) ready to tag and claim the machine. I slowed down upon approach because there was a young lady standing near the machine. I smiled and moved away while, inconspicuously, spying her to see if she was also interested in the machine. I moved on to what looked like the "electronics" department. After a few seconds, I saw that she was only interested in the armoire near the machine. I knew it was time to move and move quickly. When I looked at the machine, all I saw was the sticker with price of $29,99 and "As Is" written with a permanent marker. I thought this must be a lemon , so I stared at it until my husband radioed me back to earth. I thought about how was I going to test it before taking it home...Lo and behold the cord was attached to the table and an outlet was a couple of feet near it. So, I grabbed a chair costing $3.95 and placed it in front of the machine.. Hubby plugged it, in and I flipped the switch to "on". The light bulb came on and I got excited. Next, I began the inspection. The machine had not been cleaned or used in years. The console smelled as if it had been in storage for many, many moons, and the needle had rusted and was blunt. I was still ready to give this baby a try. I needed some fabric to test it. I was so desperate that I searched my purse for fabric...now, I knew I didn't have any fabric in my purse but I checked anyway. Well, I didn't find fabric, but I was still clutching on to my napkin. I placed the napkin under the presser foot, pressed the foot control and away it went. It started moving and puncturing rust marks in the napkin and singing the song of the Touch and Sew 603 it once sang years ago. There was yet another test or 2 to complete. I needed thread and a new needle. Super Walmart was about 3 miles away, and the goodwill was about to close in 45 min. We headed to Walmart, and I knew no one would be there to claim it with only a few minutes left till closing. I purchased a few items to test the machine; needles, thread and fabric. The purchase total equaled my birth month and day!! It was then I knew she was for me. We returned and it was still waiting for me. I replaced the needle and, with hubby's help, threaded the machine following the instructions in the manual. I also picked up a fat quarter to test the stitches. Now I was set and ready to sew. This Touch and Sew was beautiful music to my ears, and the stitch quality was perfect! I was able to play around on it for a few minutes before making a decision. I decided there was no way I was going to leave her behind. After I decided to purchase the machine, my hubby said we should go to the front and let them know we want to purchase it. I refused to go the front without the machine thinking someone would spot it after I got it working. So, we carried it to checkout together. We brought her home and cleaned her off. The next day I took her apart to oil her parts and test the bobbin and the cams (fashion discs). Everything was in perfect working order. |
|


 RSS Feed
