1 of Part 2 - Make and Design Your Own Clothing Labels Using Adobe Photoshop 12
|
|
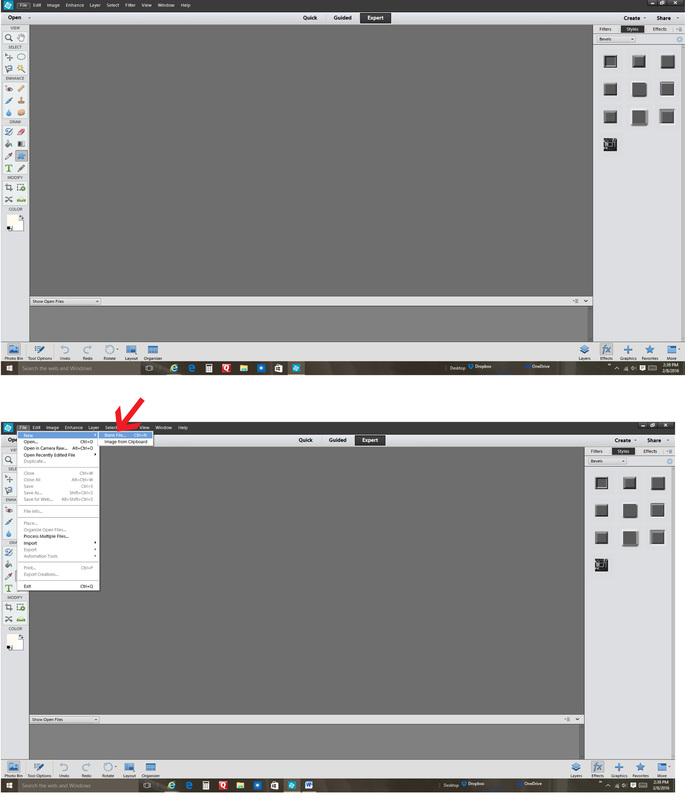
Open Adobe Photoshop 12. Click "File", "New" and then "Blank File"
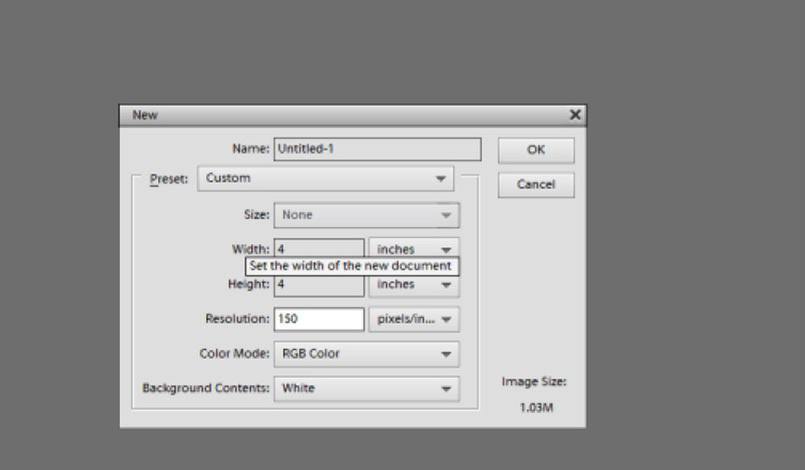
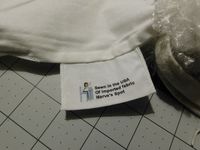
When Screen shows, change width and height to inches. Next, you will enter the size of your labels. In this example I chose 4x4 INCHES. The actual label is 2(w) x 3.0(L). I made it larger to include cutting space and the part that will be inserted into the seam allowance.
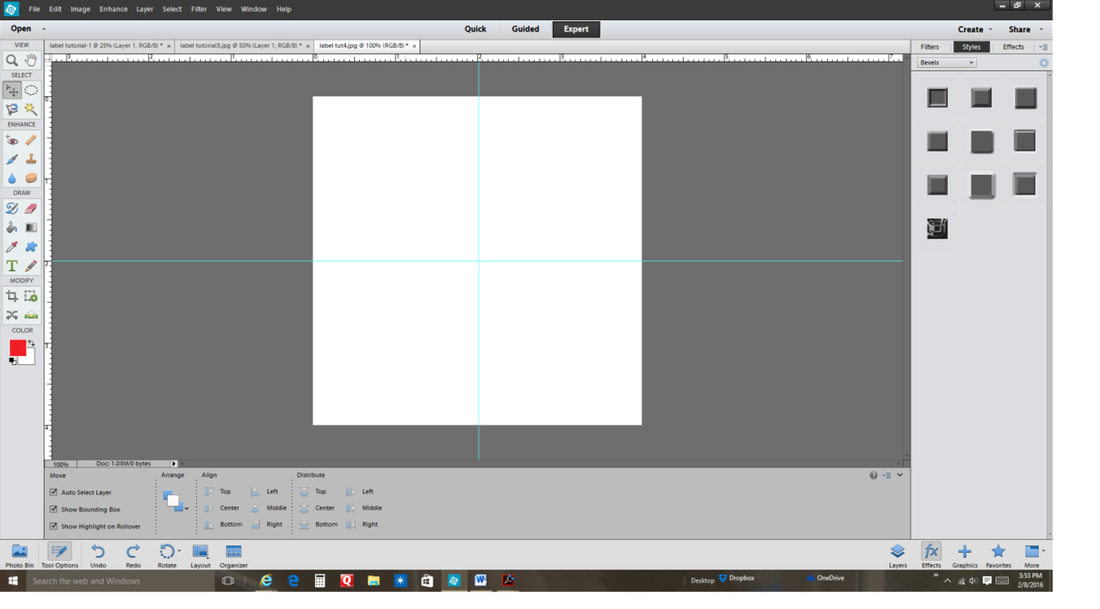
Your 4x4 page will appear. I added the ruler lines. You can do this by placing your cursor on the top and left ruler lines. Hold and drag cursor to divide your working space into even sections if you plan to print on front and back of your label.
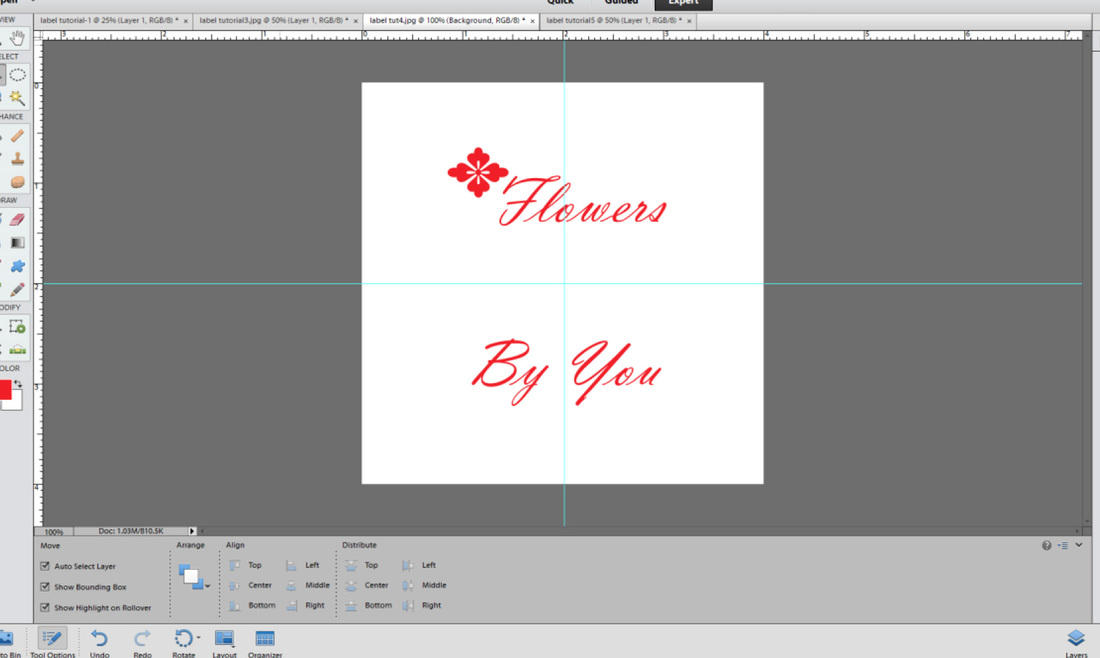
Create your design. As you can see it is divided so that you will have front and back side. You can bring your design closer to the center (fold) line if you want.
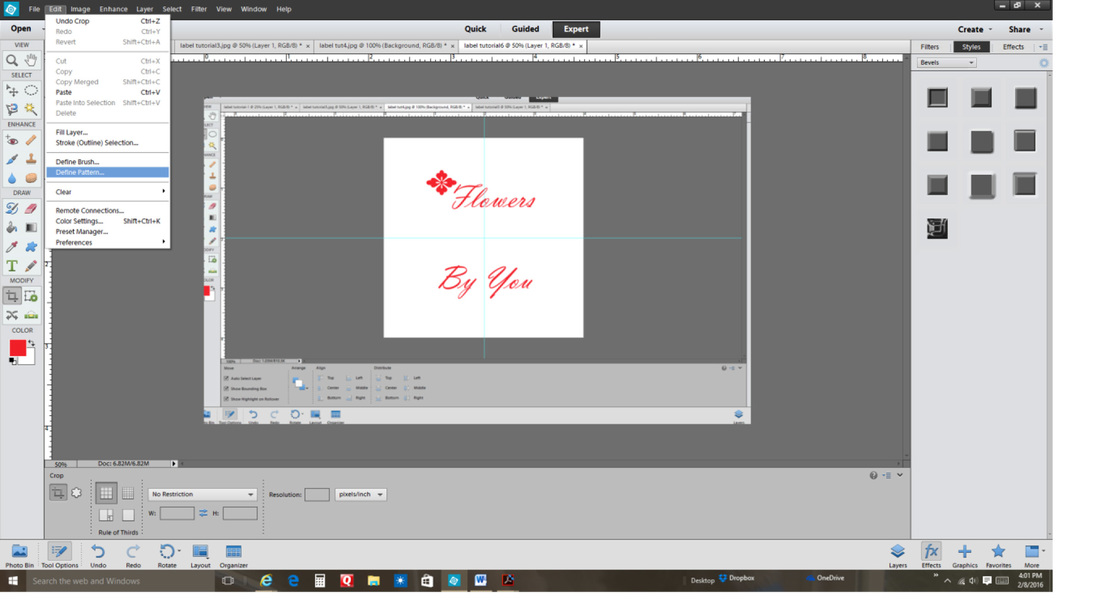
When you are finished with your design, click "Edit" and "Define Pattern".

This box will open. You have the option to give your pattern a name then click "OK".
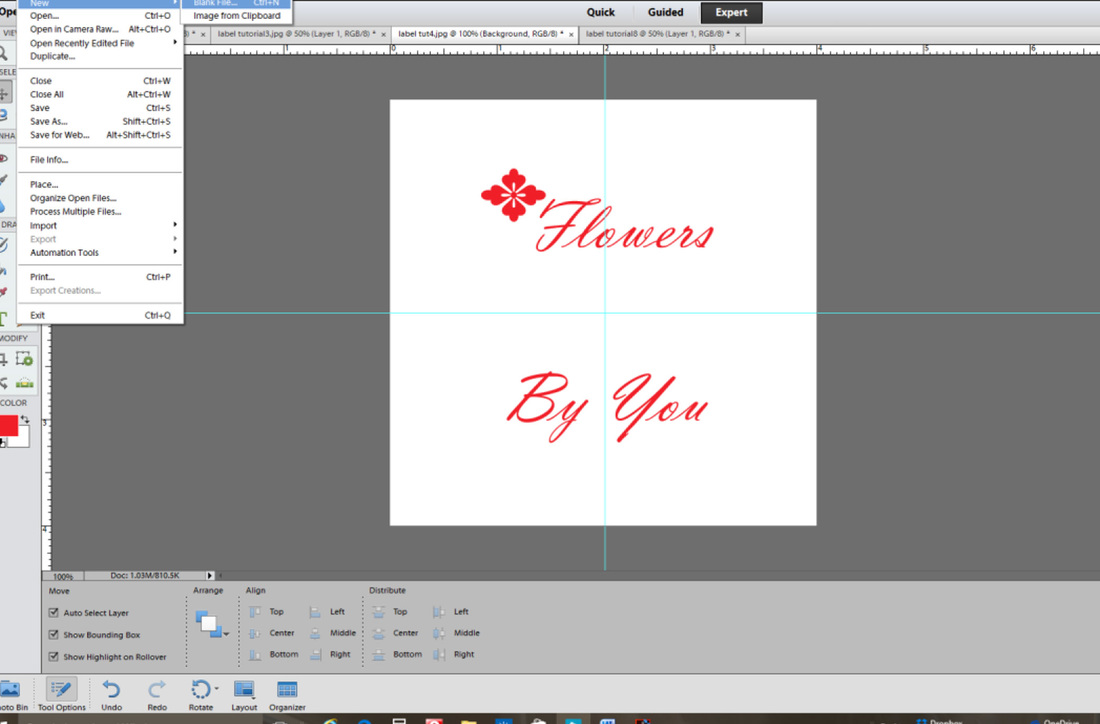
Next, click "File", "New", and "Blank File".
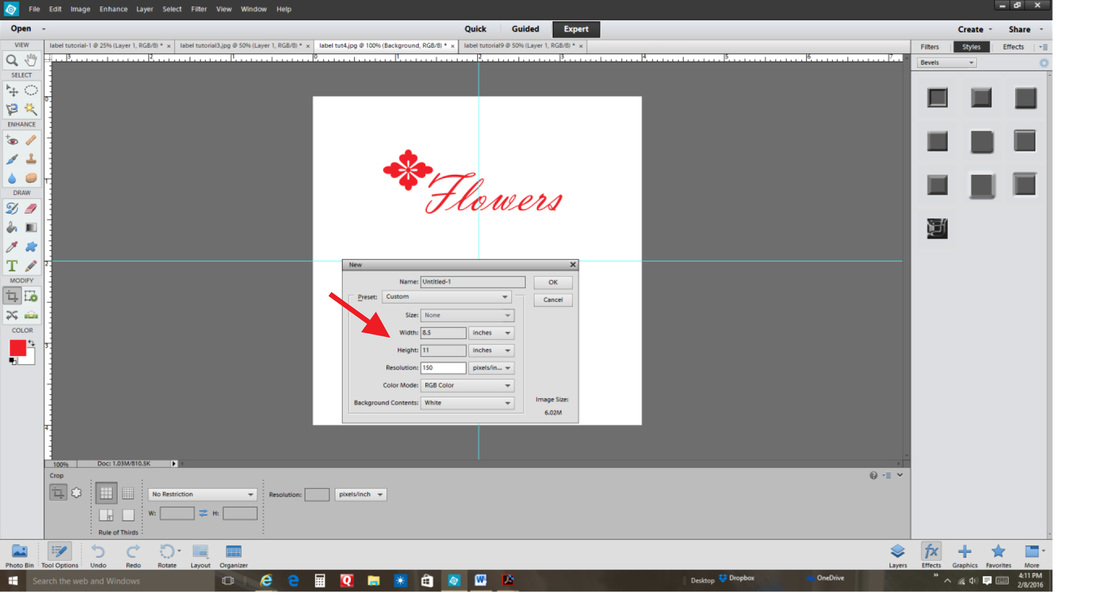
Change your width and Height to "inches" if it is not already selected. The size you select will be the same size as the paper you will print on, 8.5in for the width and 11in for the height. Dpi should be between 150 and 300.
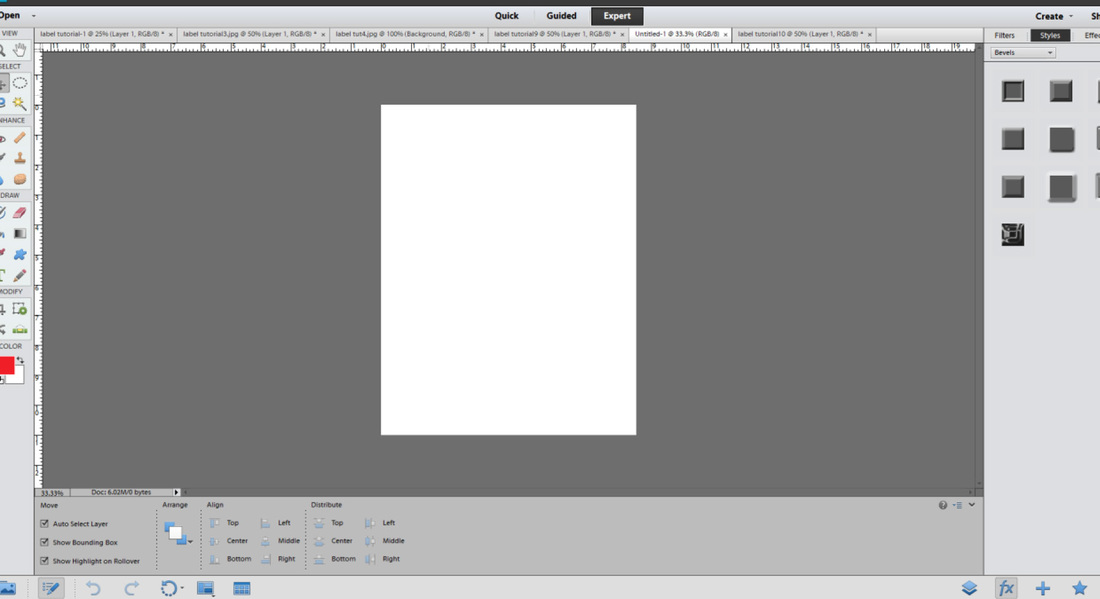
Your new blank
page will open
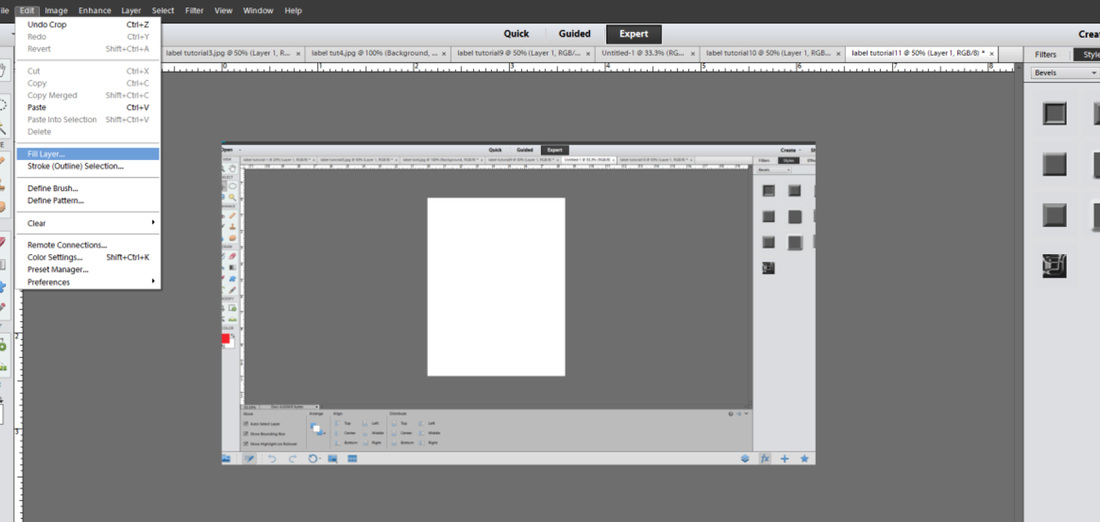
Click "Edit" and "Fill Layer"
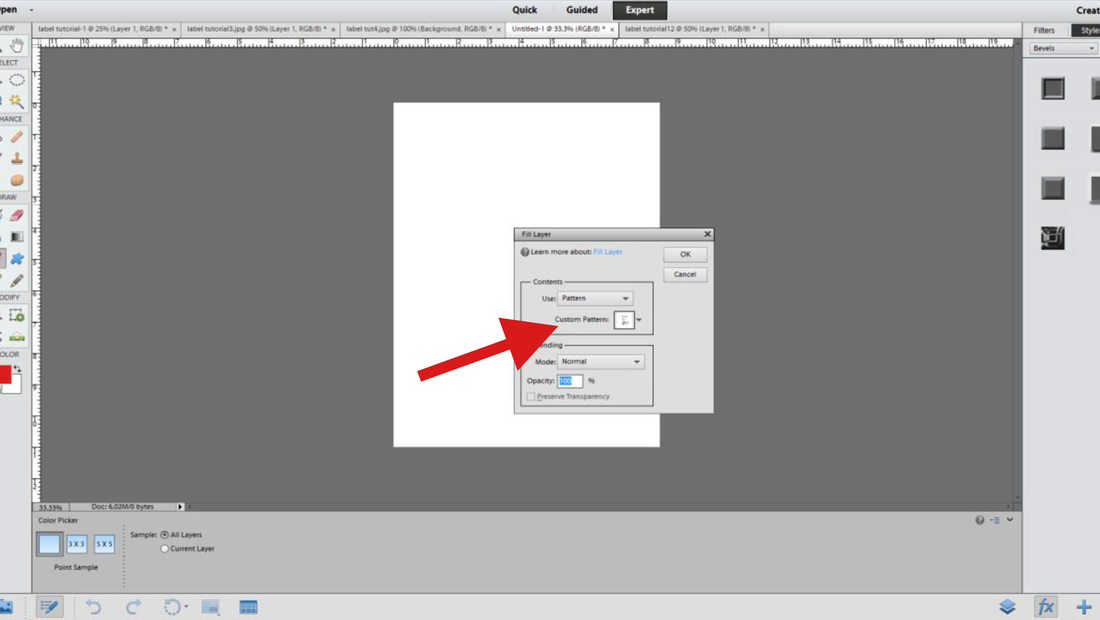
Remember the pattern, you made for your design? Well, here it is and you will need to select it. Click on "Custom Pattern".
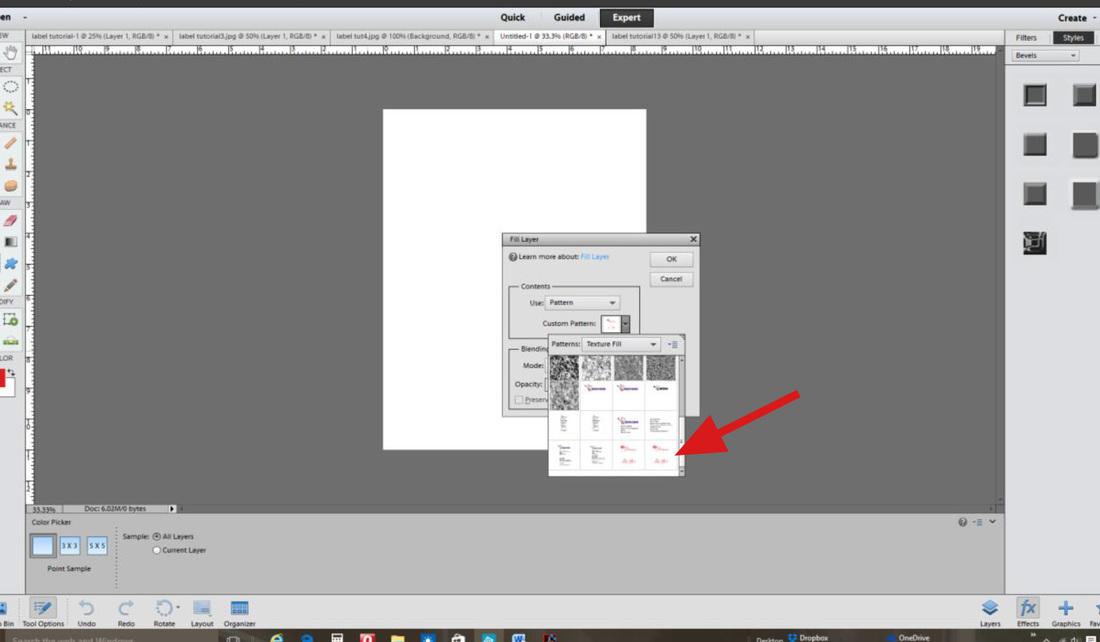
Select your pattern and click "Ok".
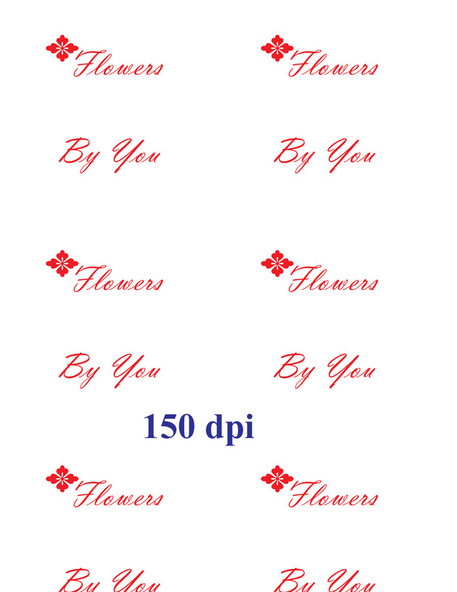
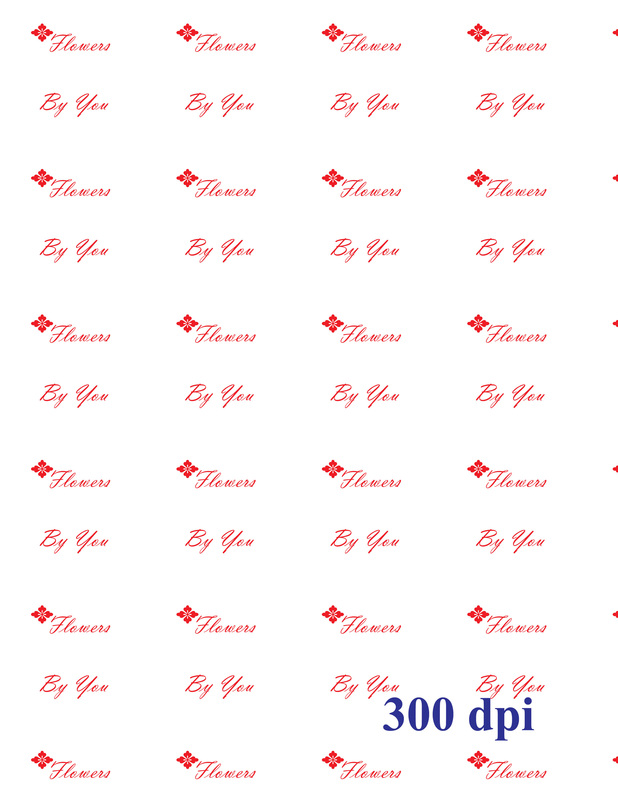
This is what it looks like at 150 dpi and 300 dpi. You are now ready to print using an inkjet printer.
|
|
