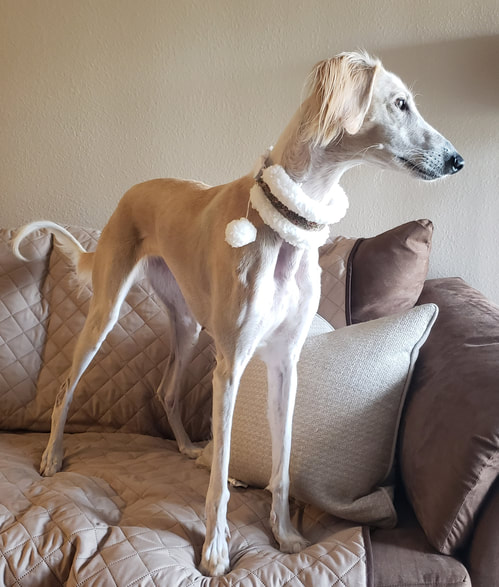
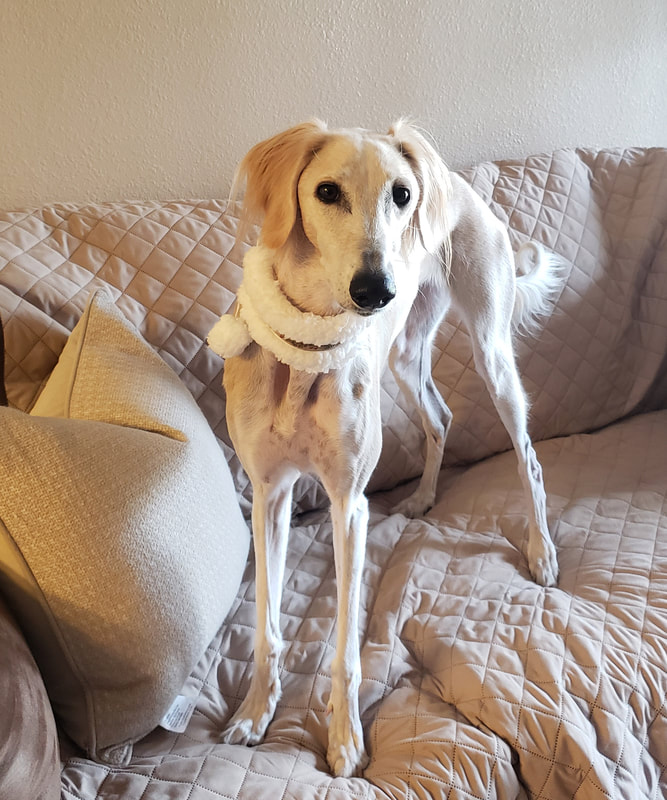
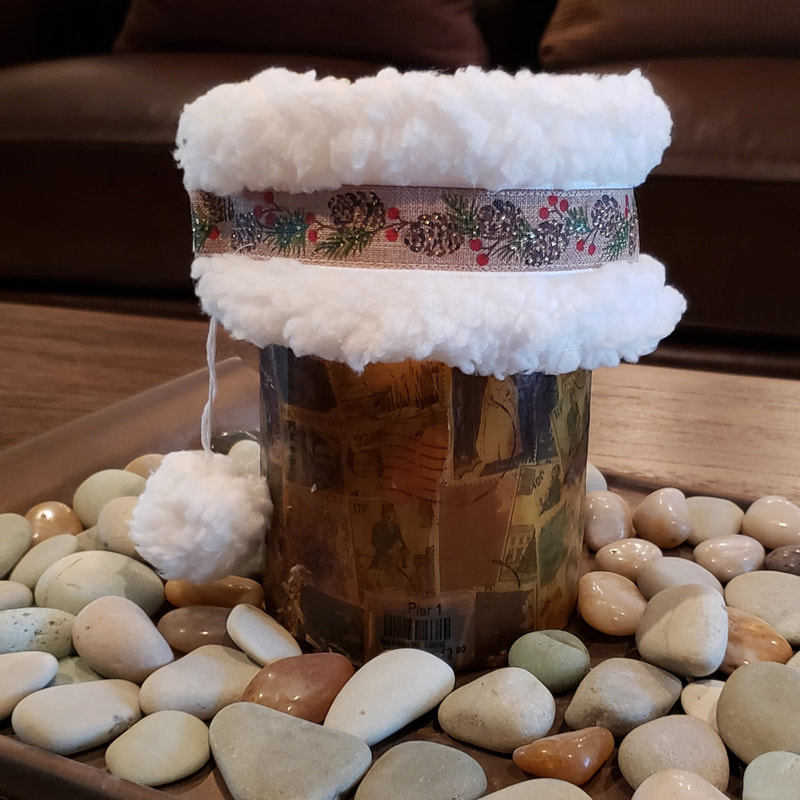
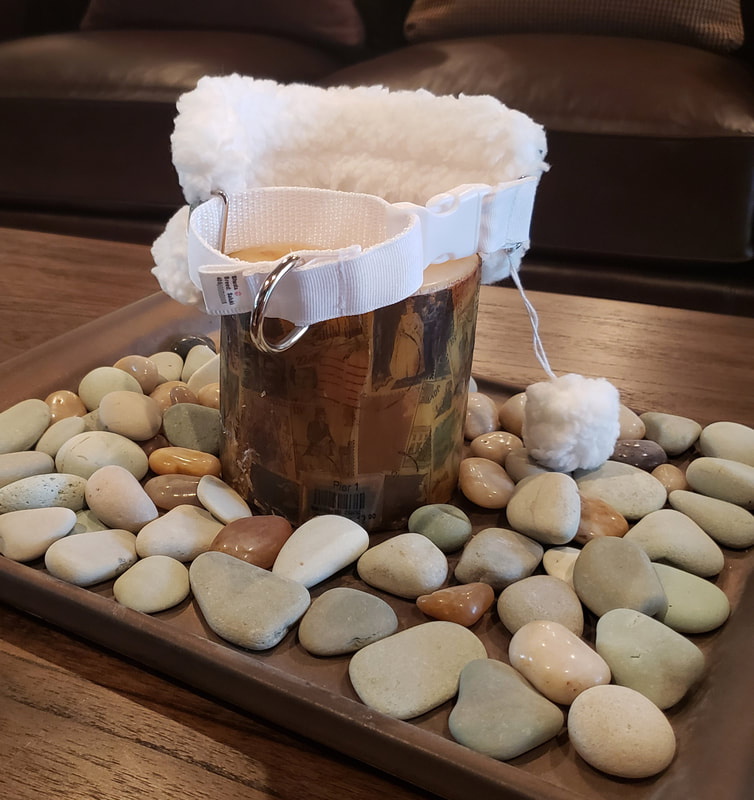
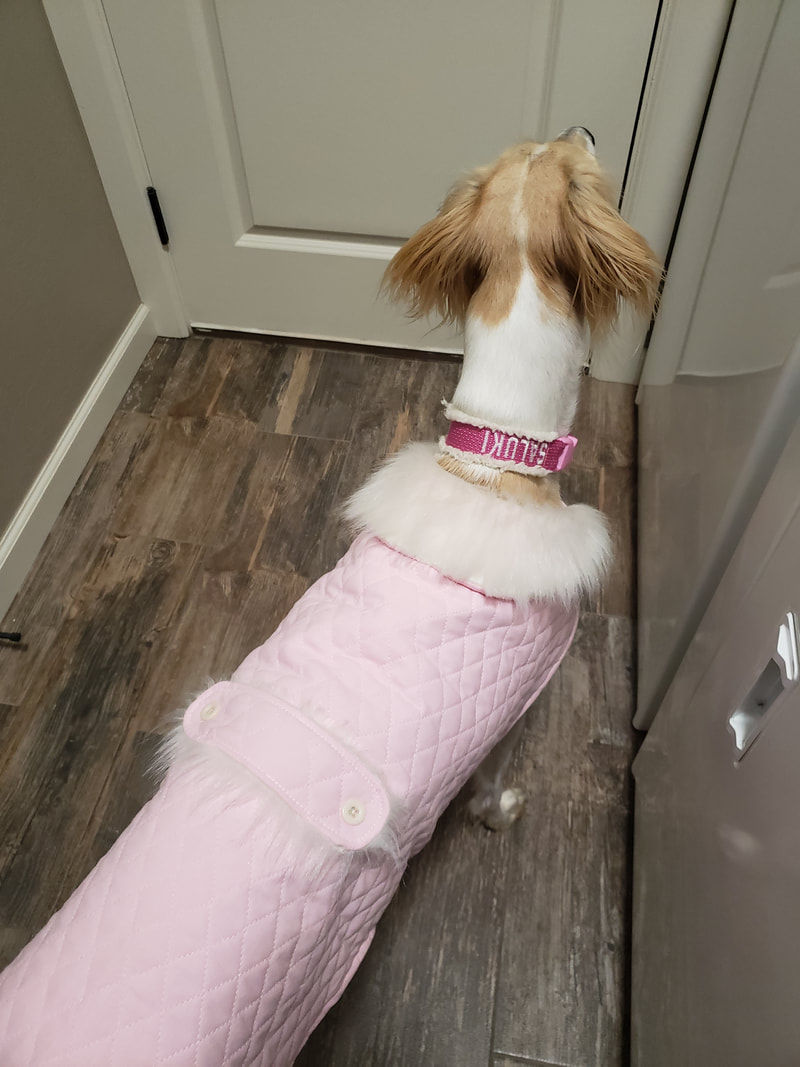
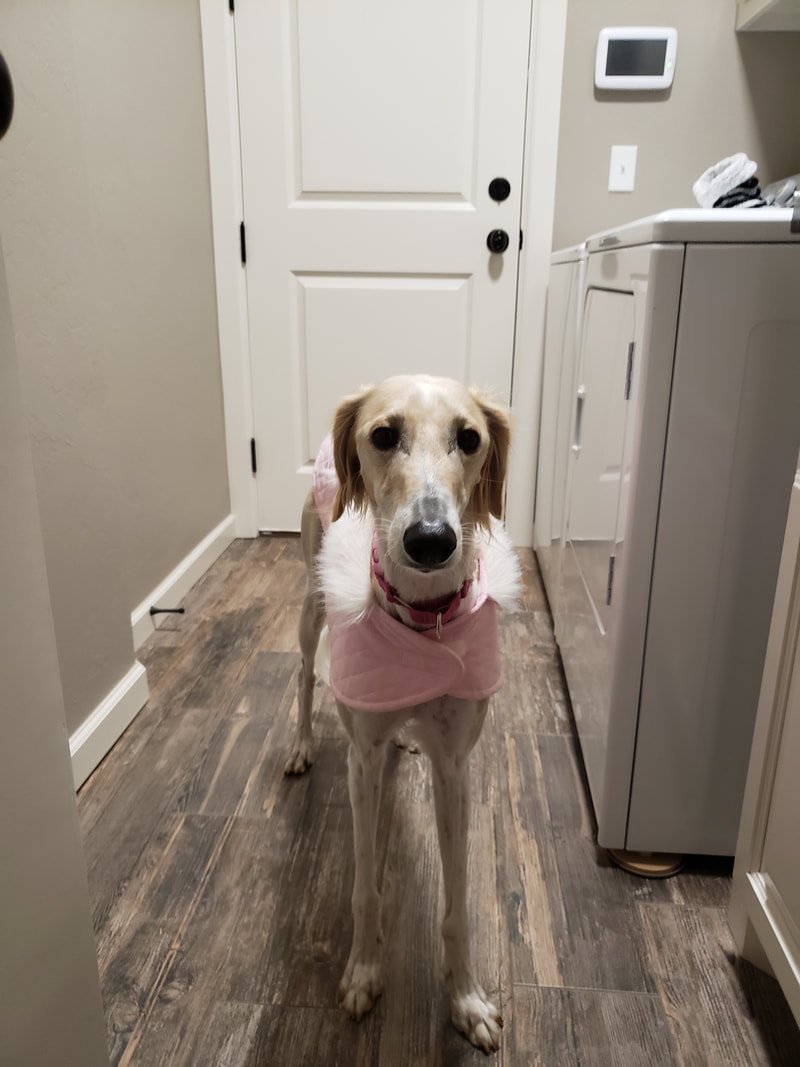
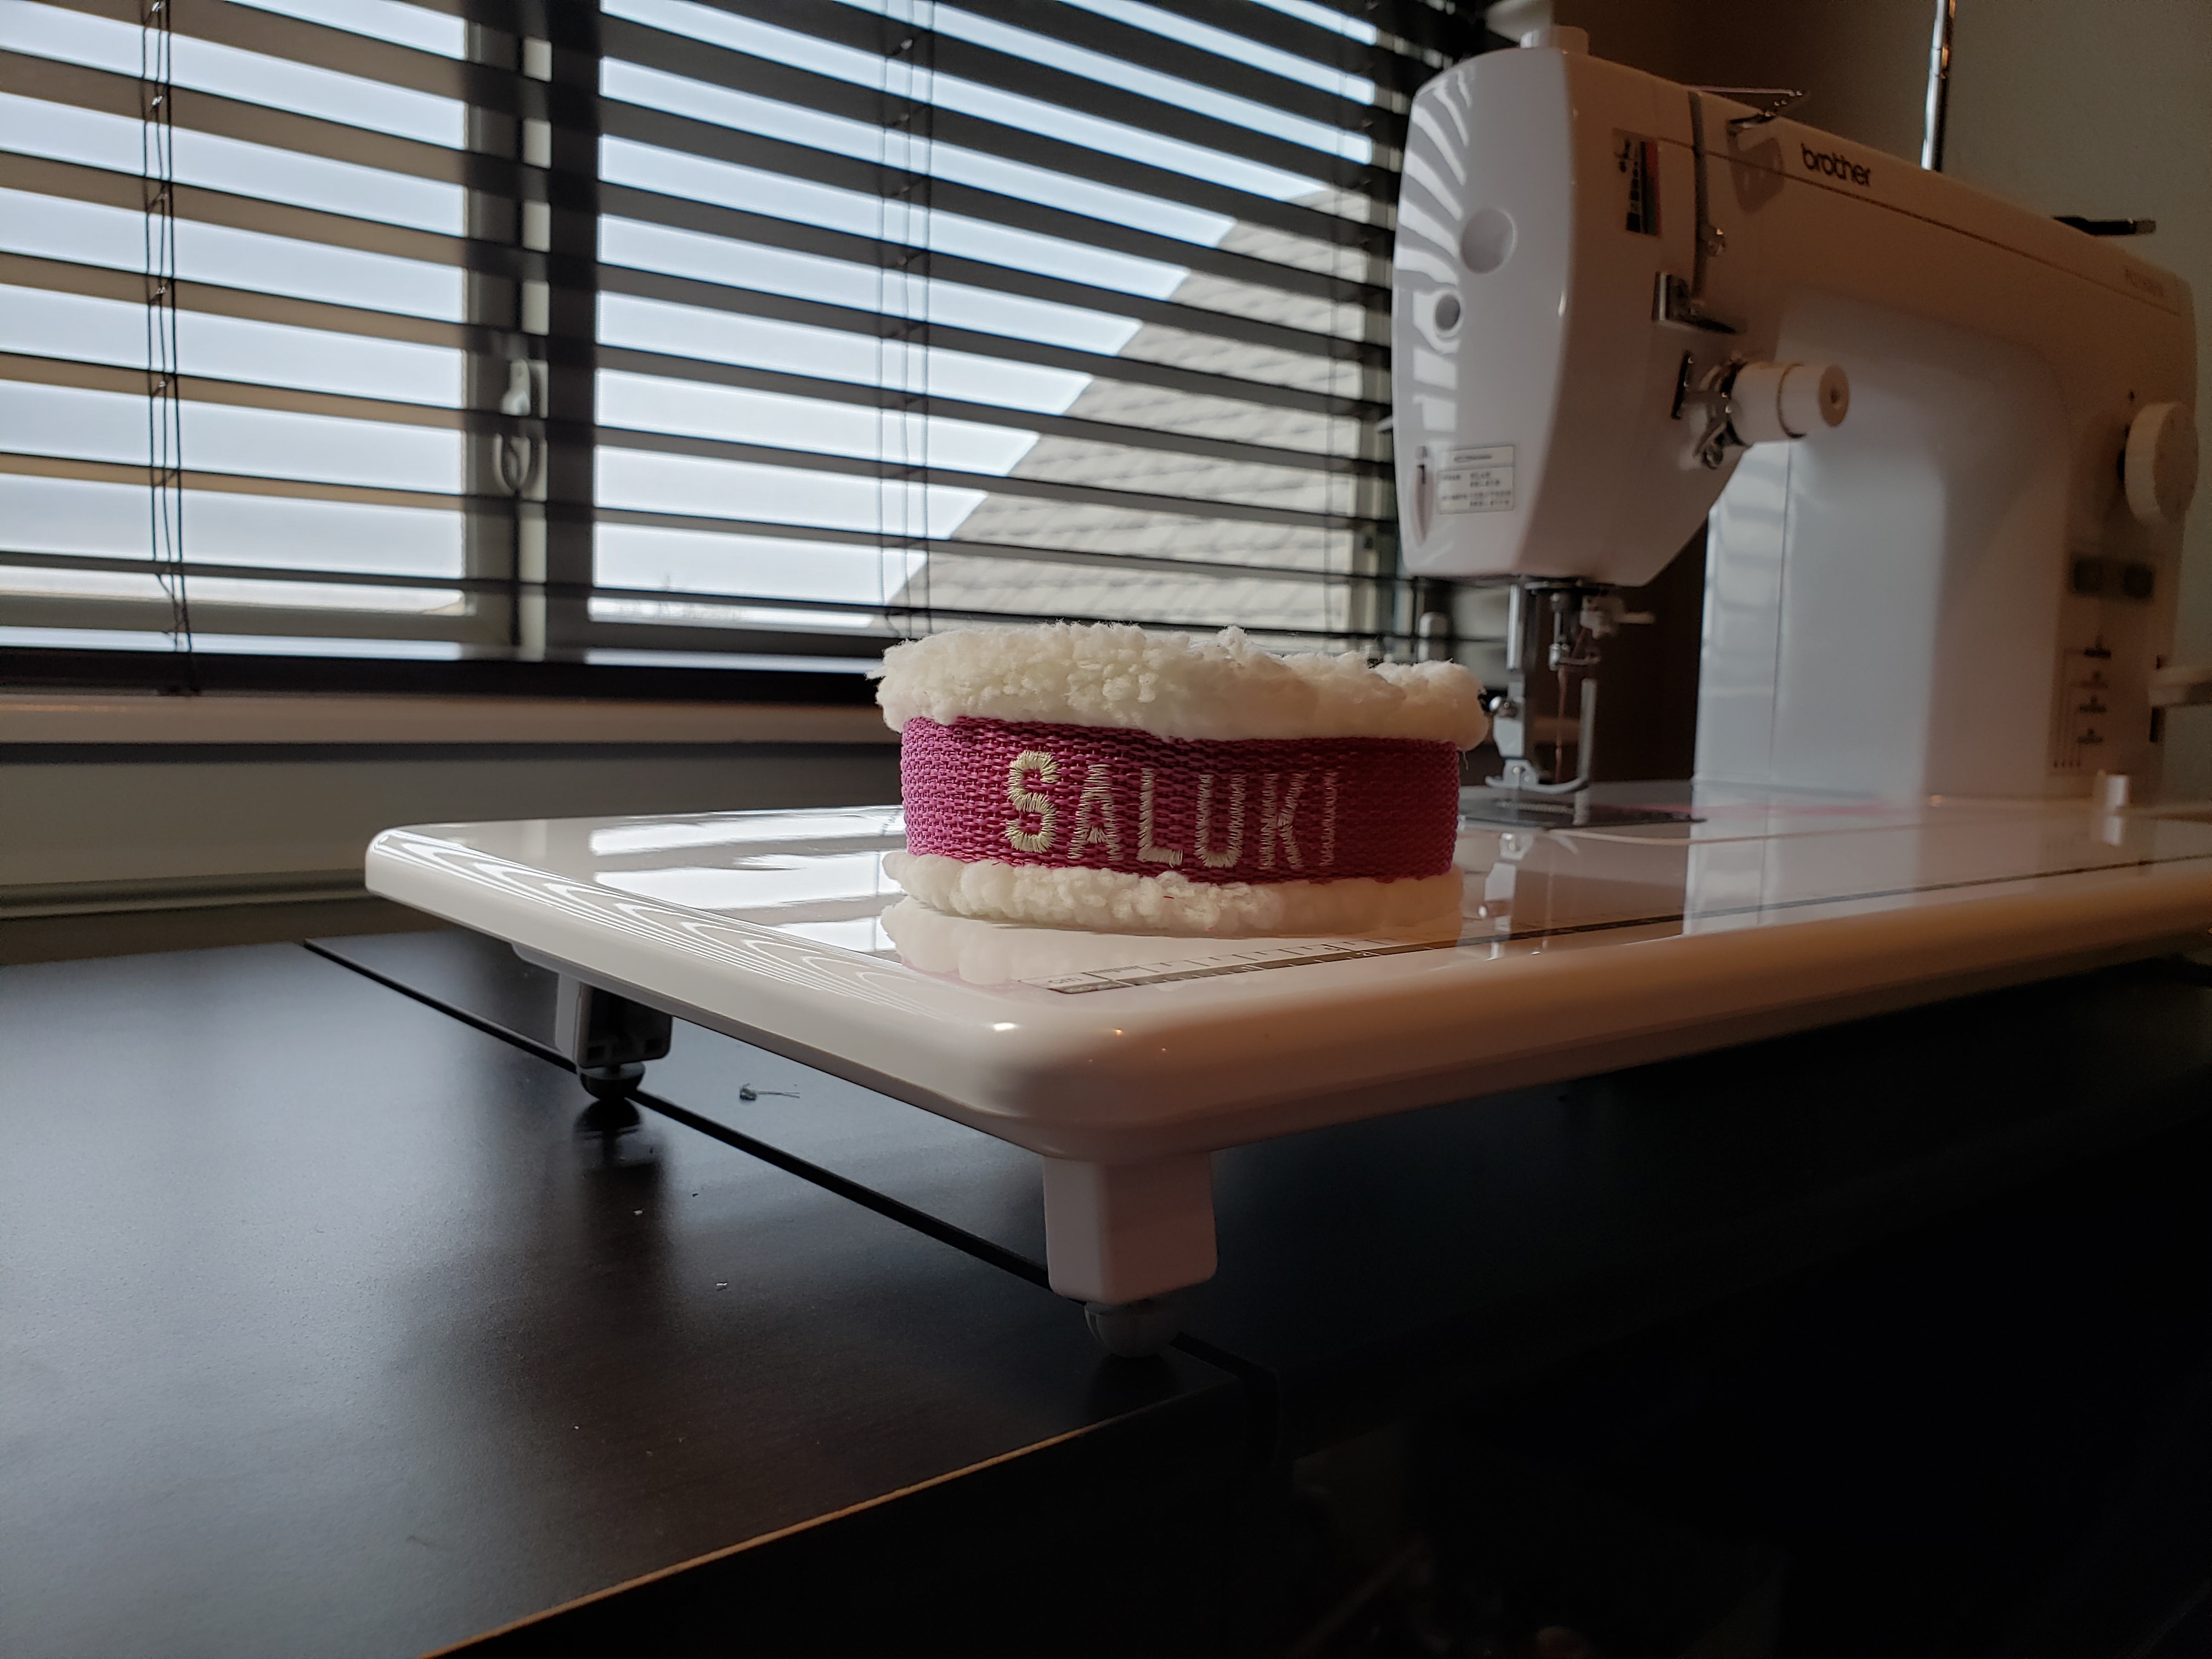
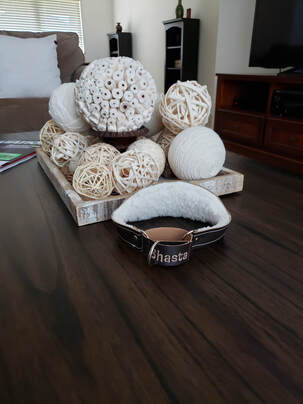
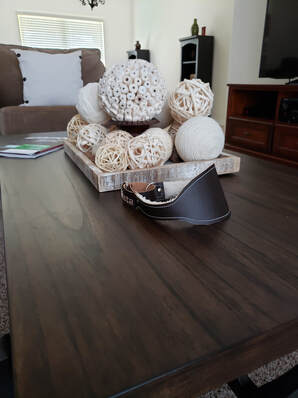
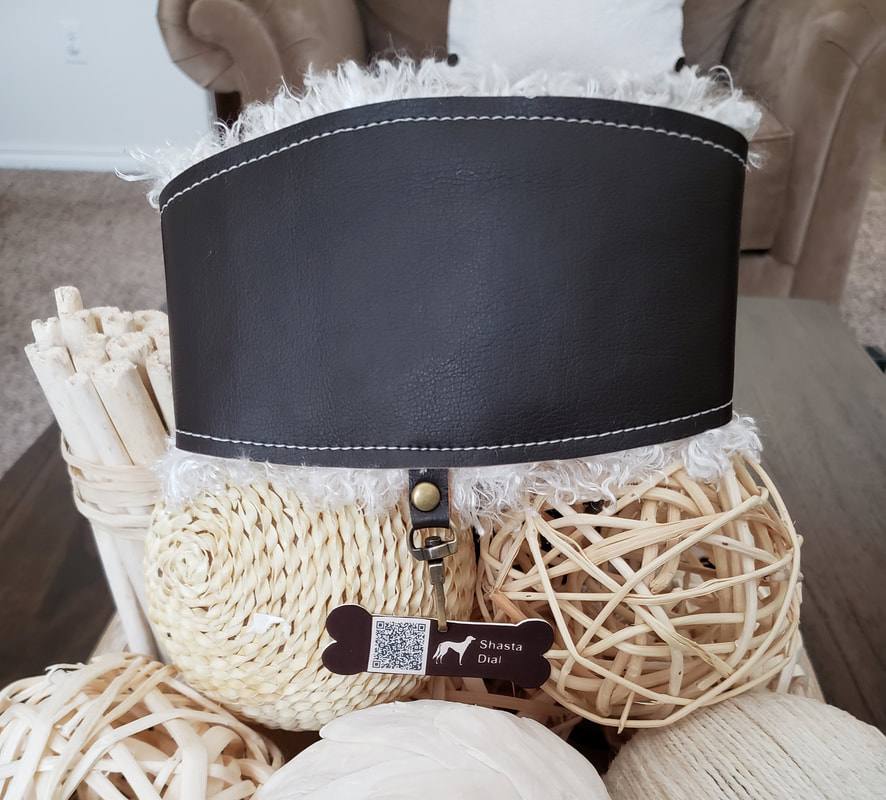
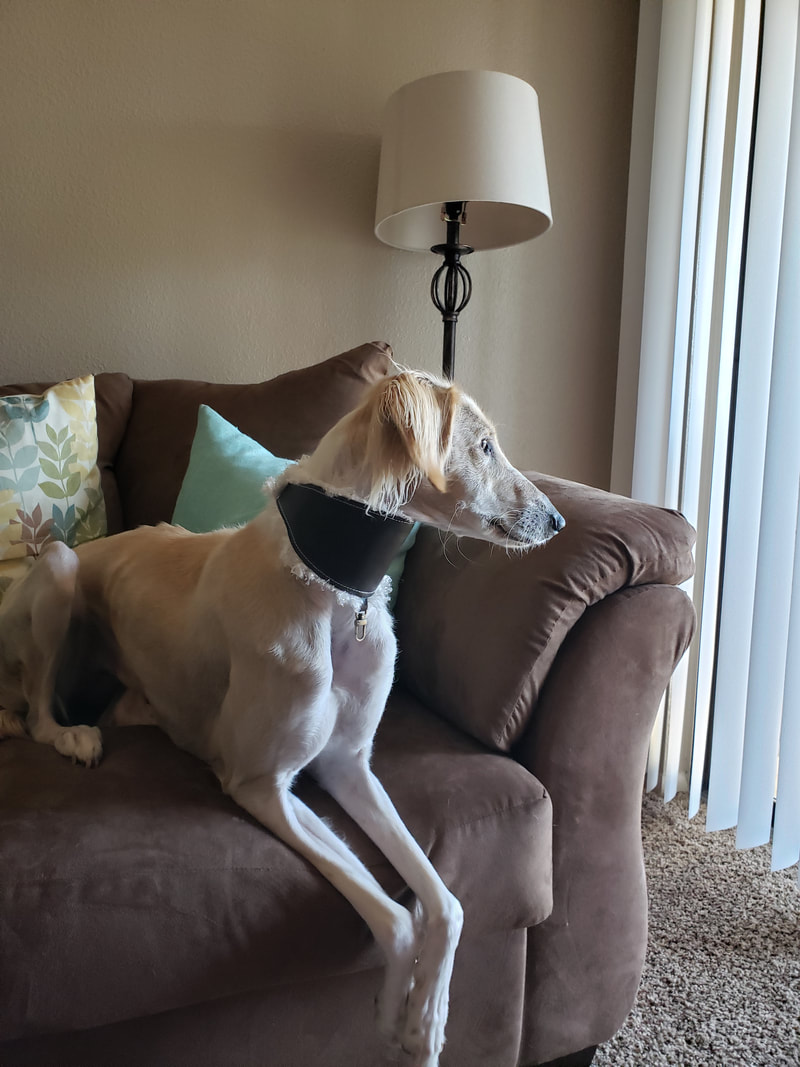
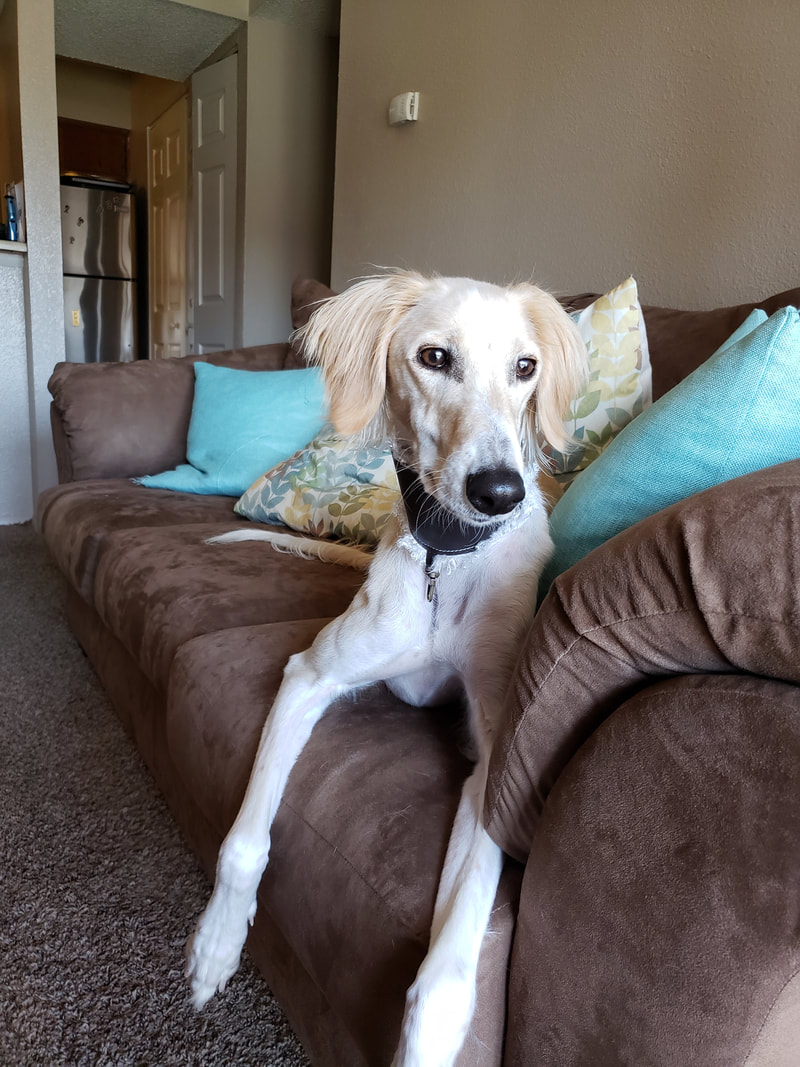
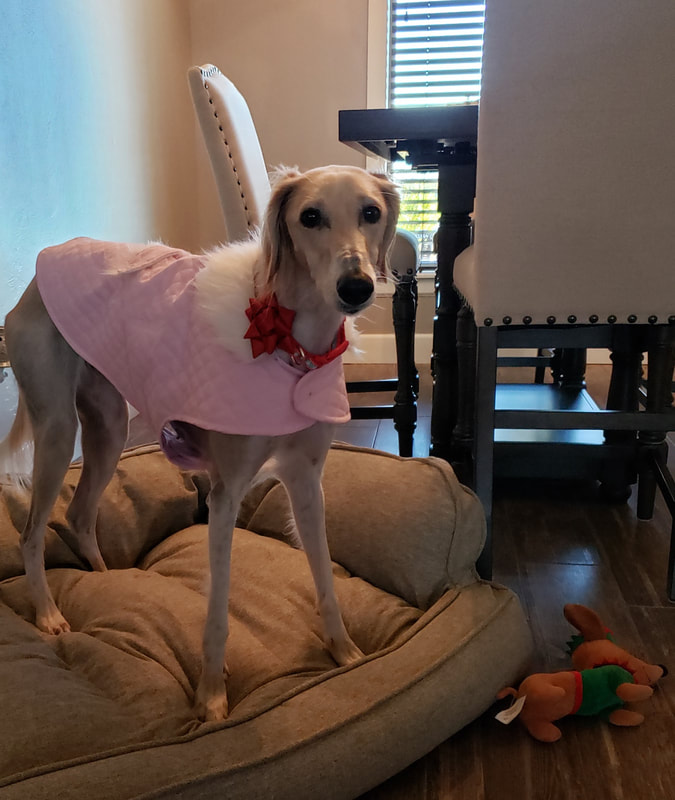
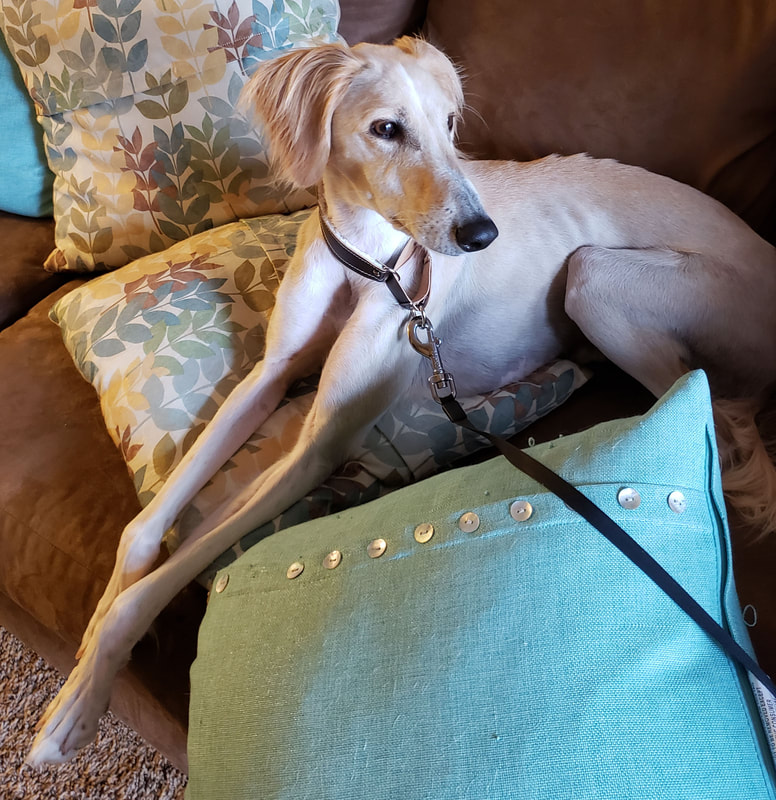
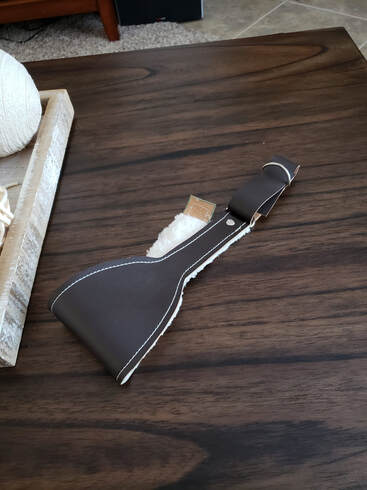
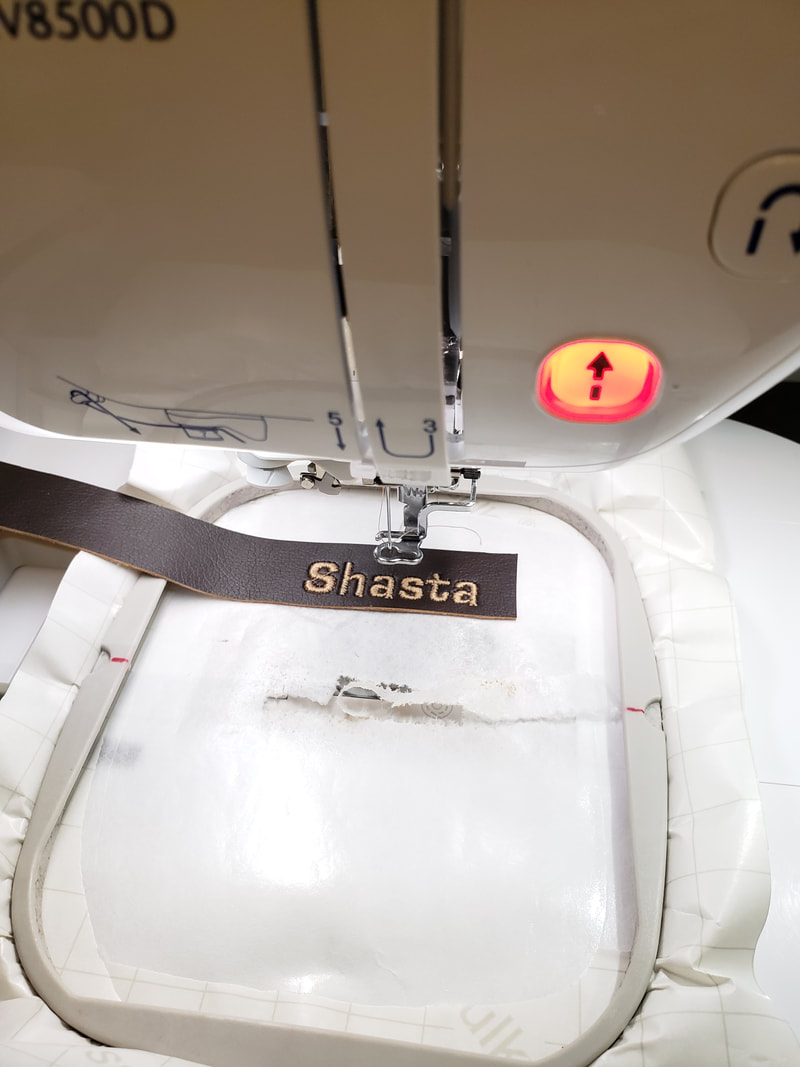
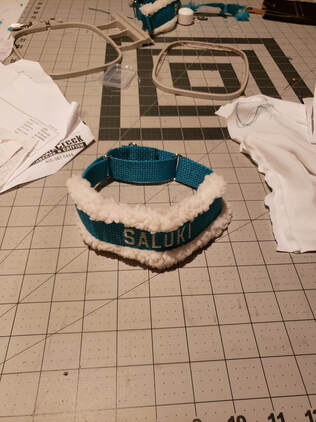
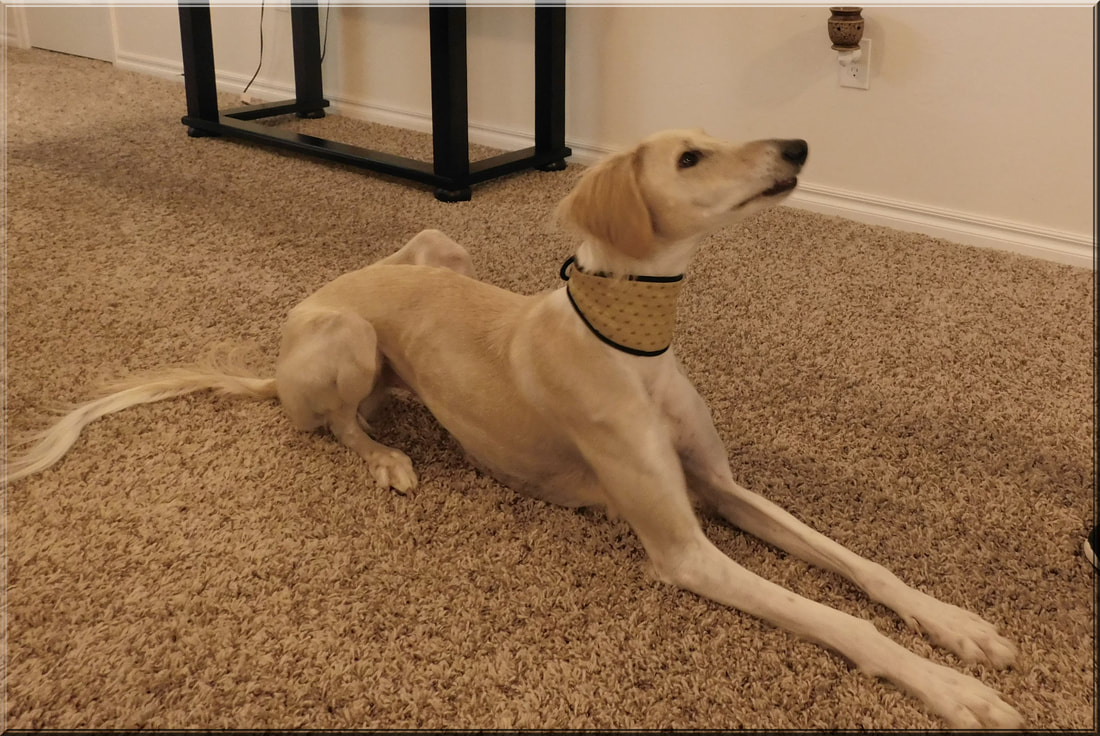
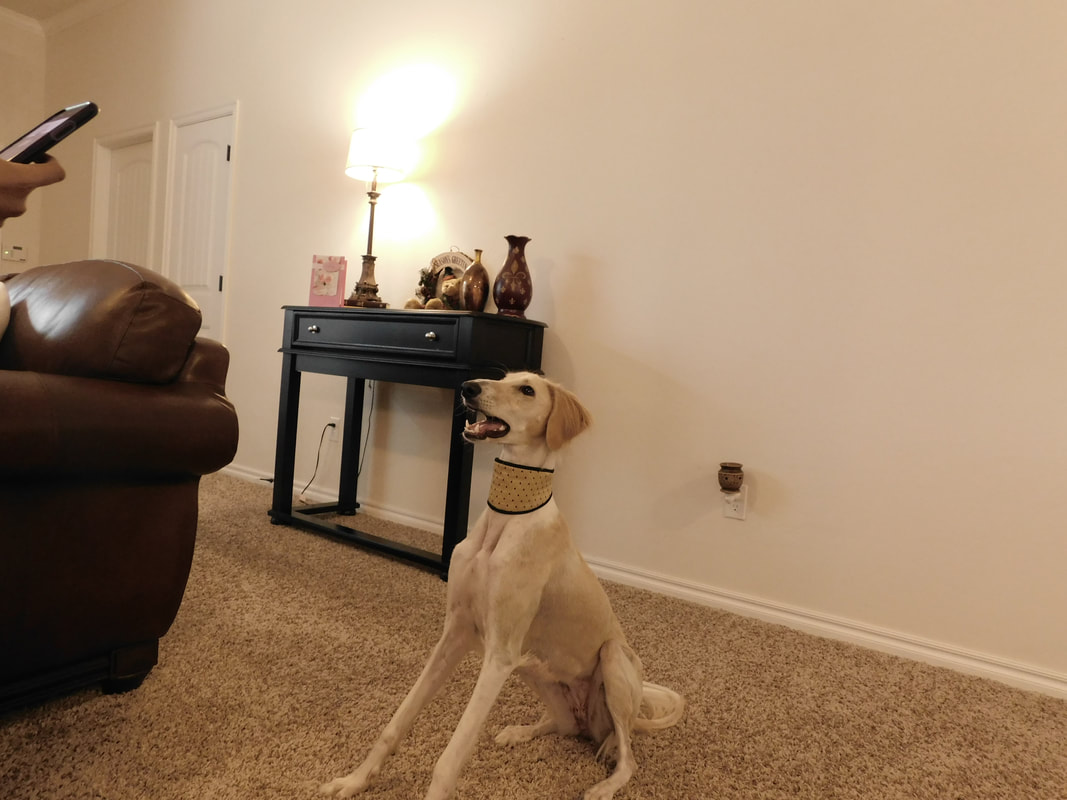
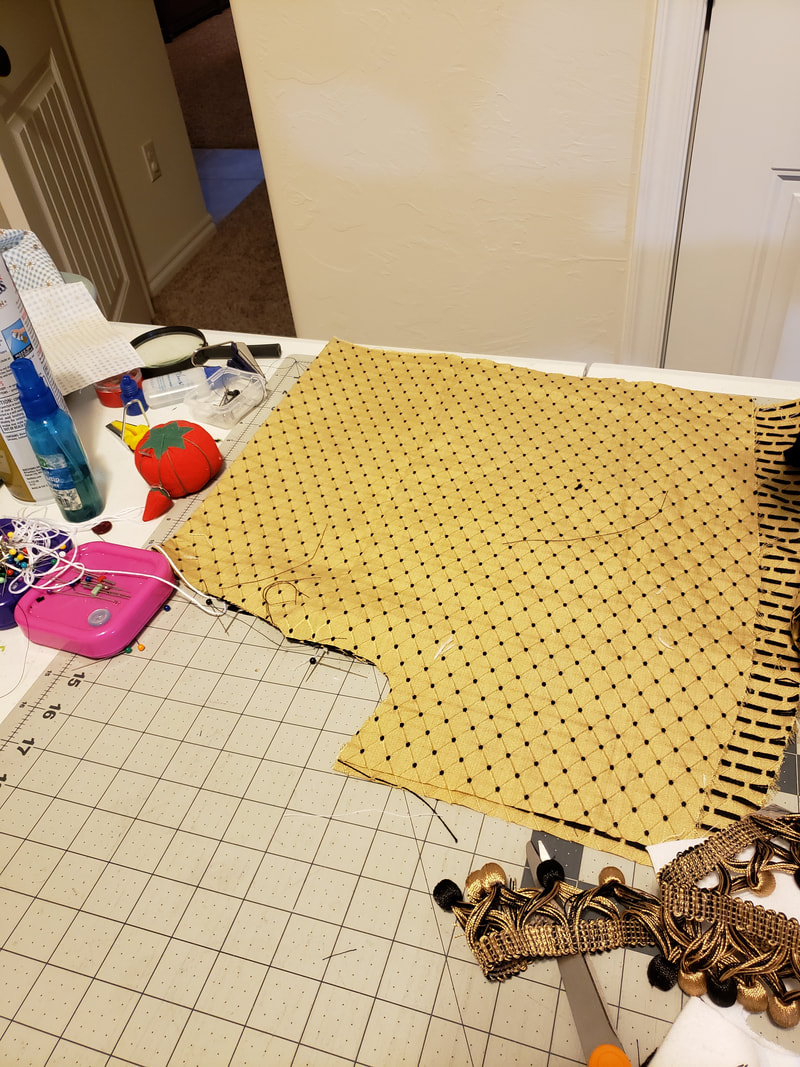
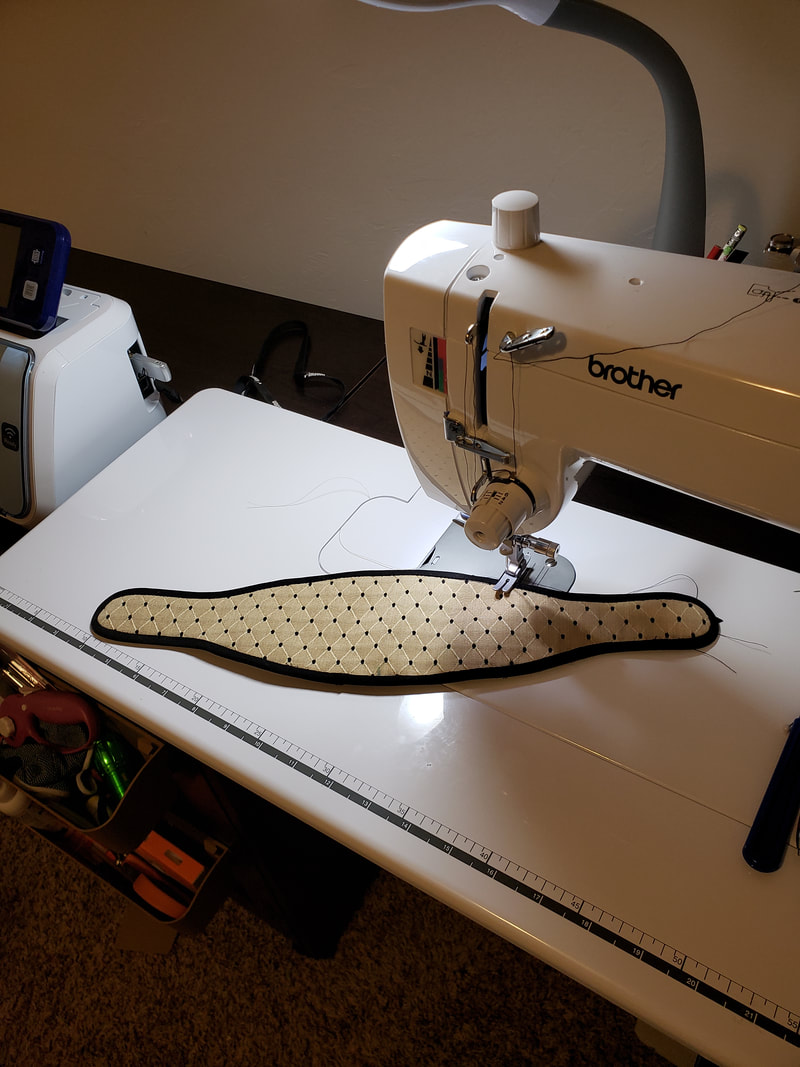
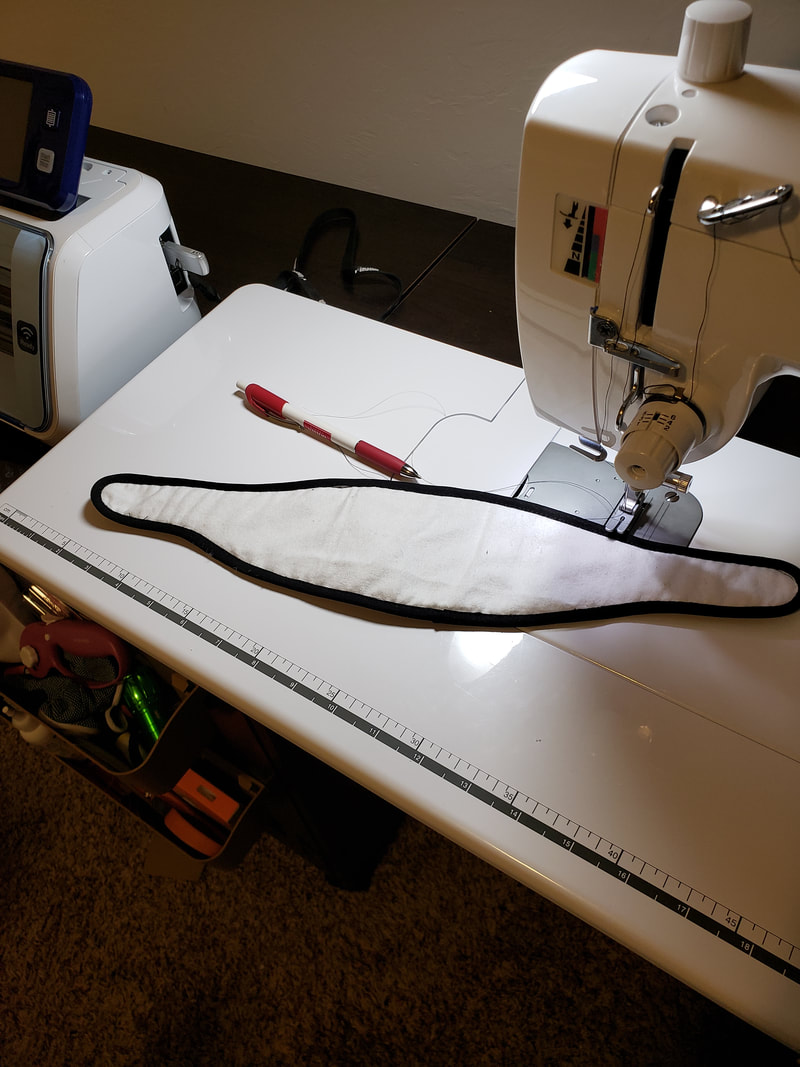
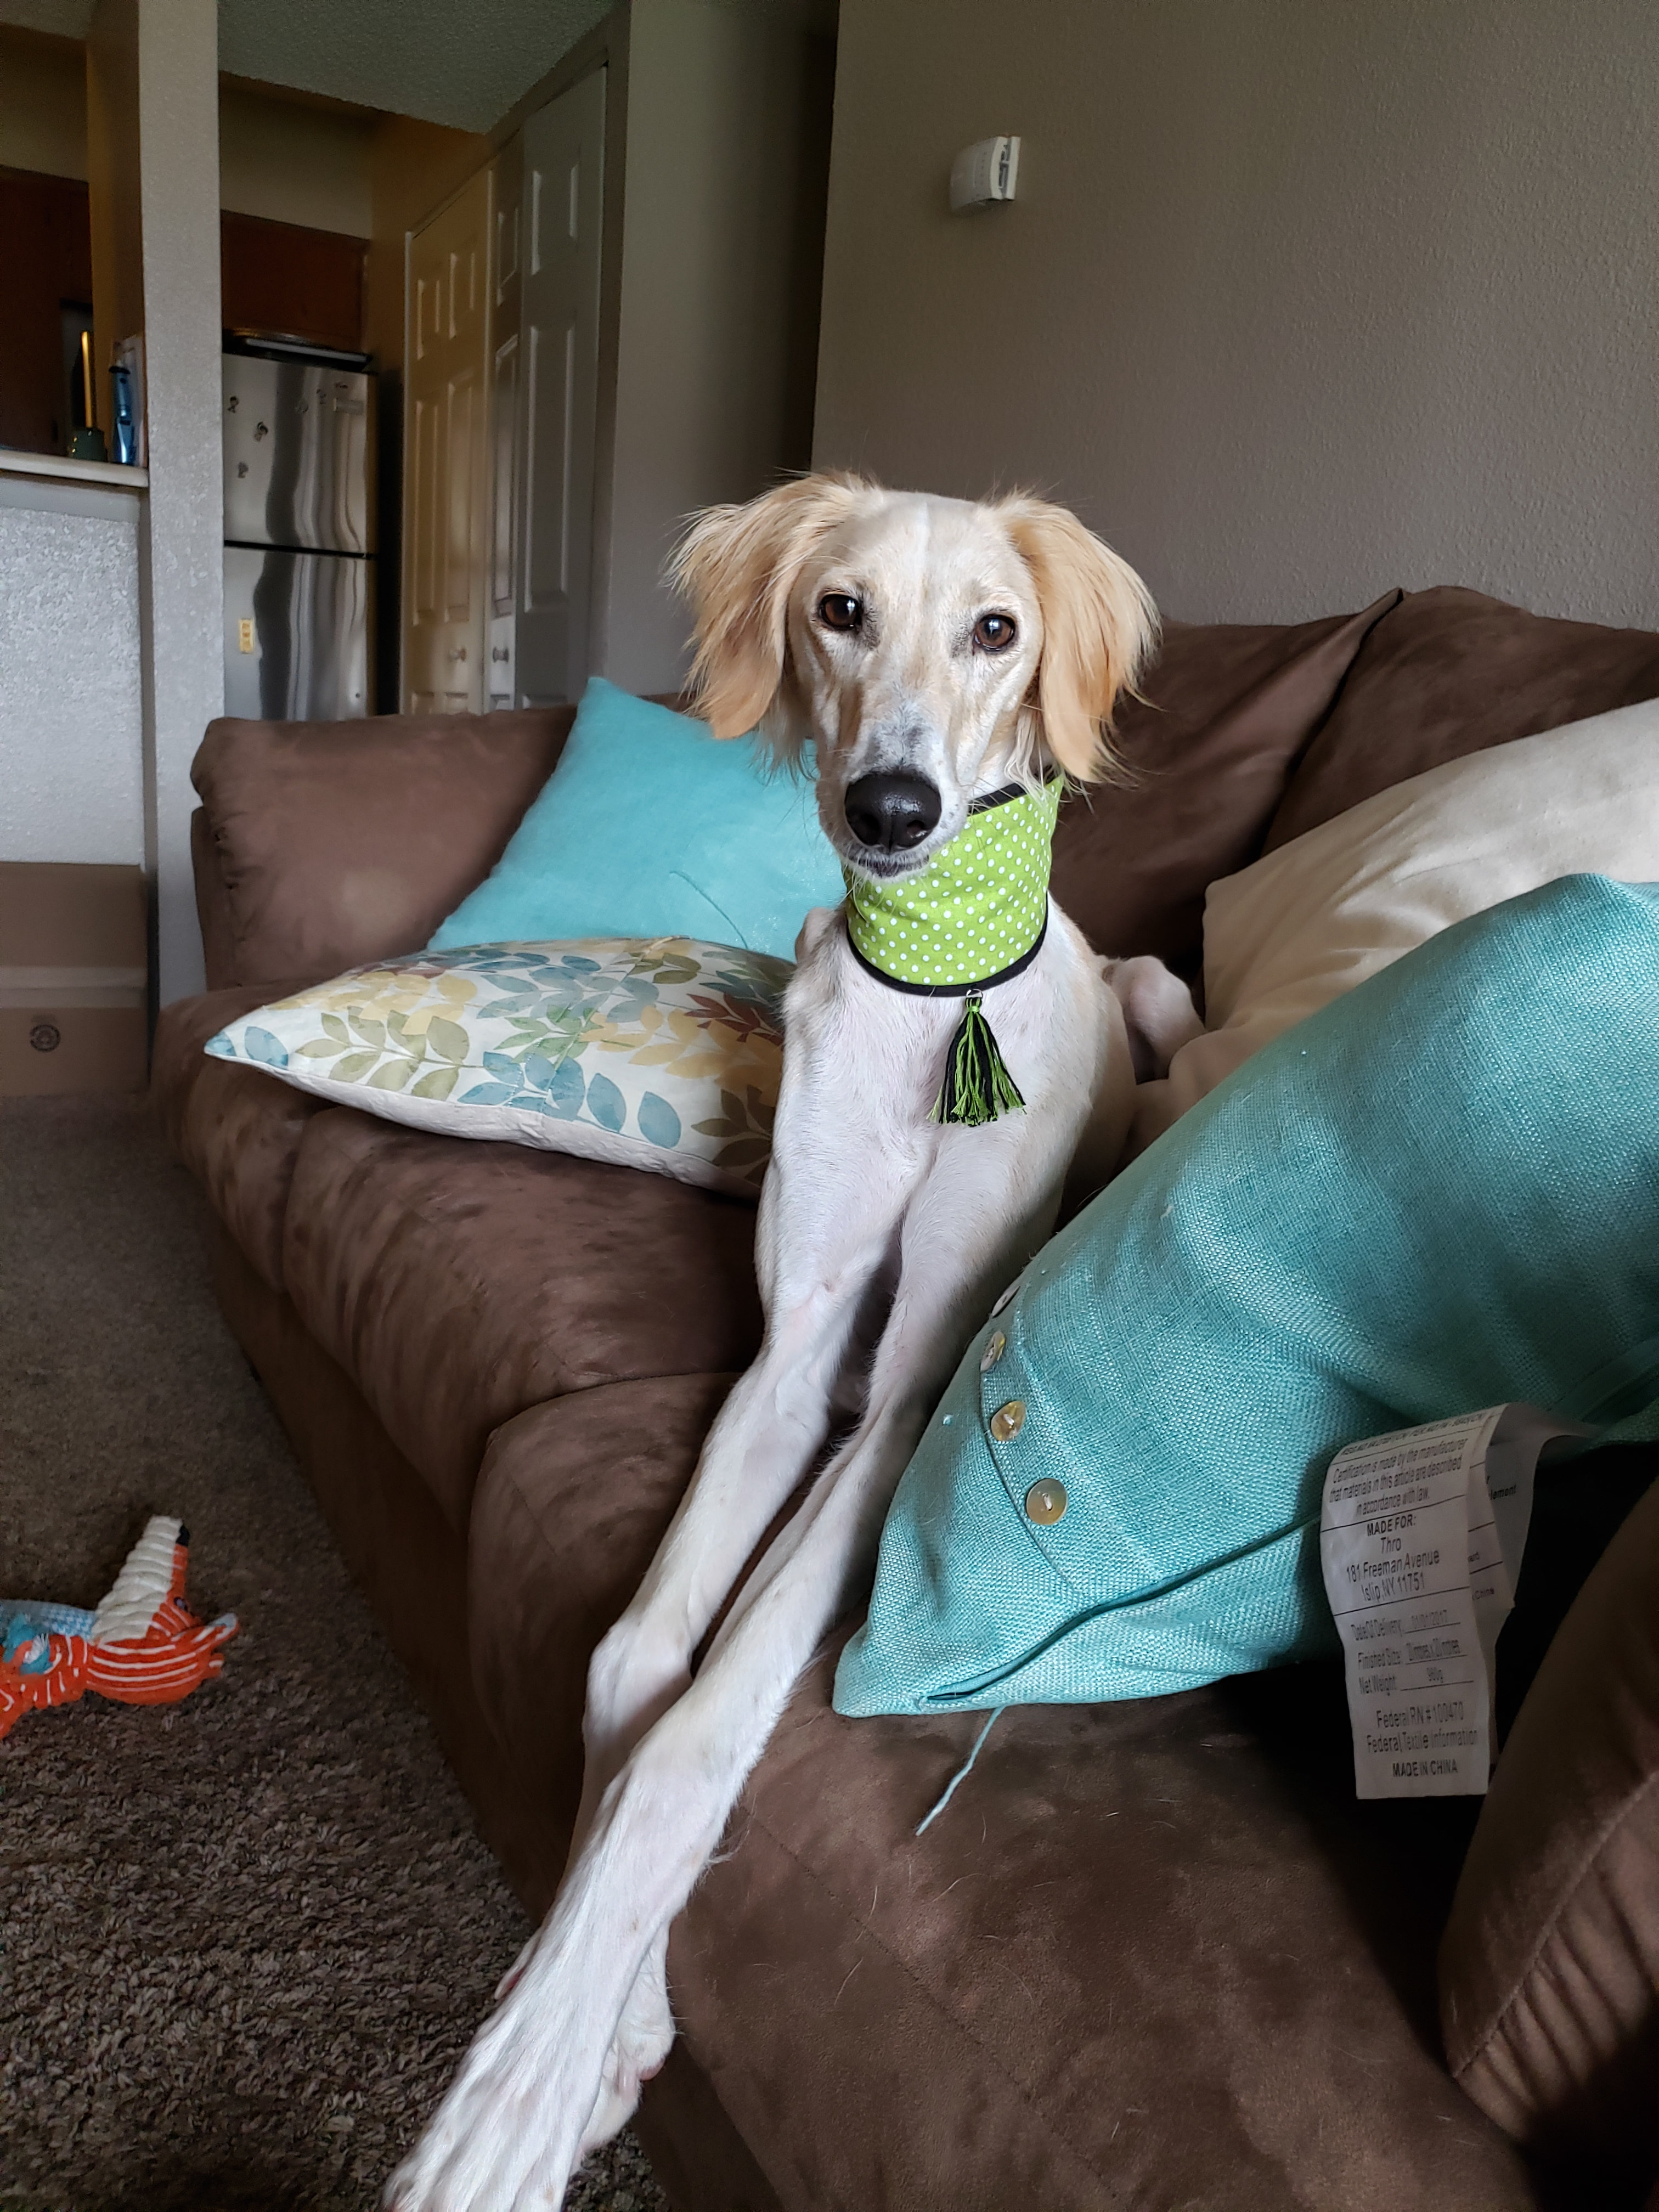
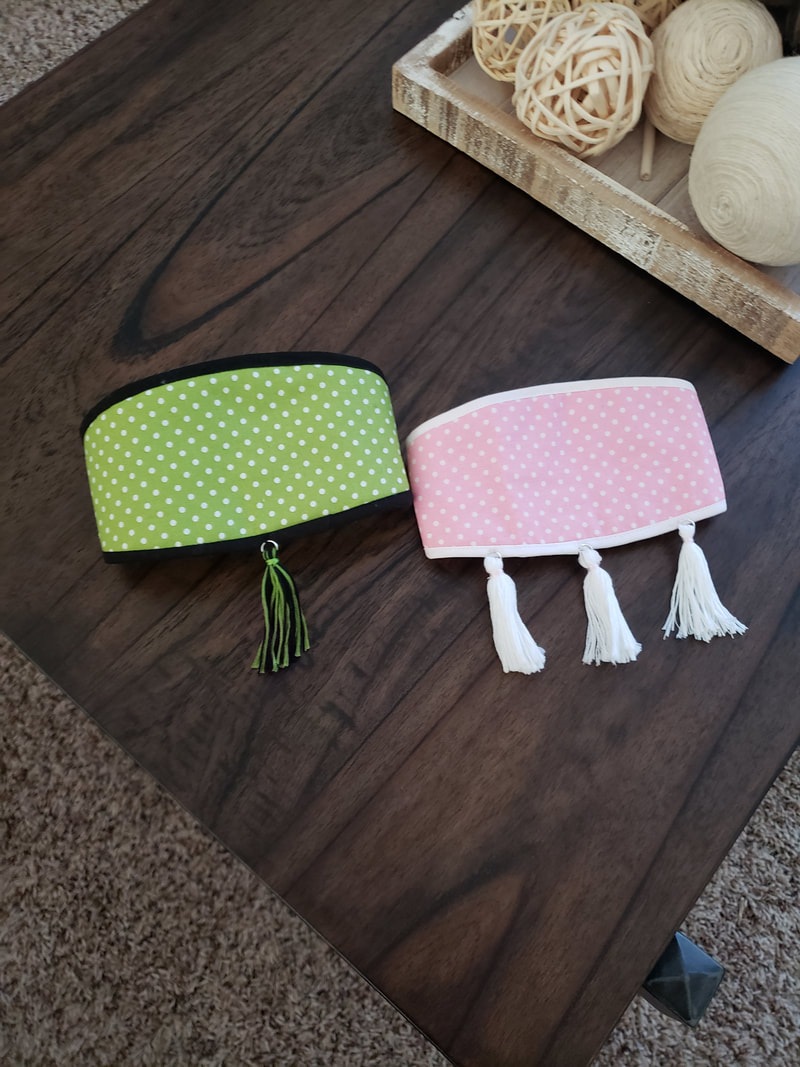
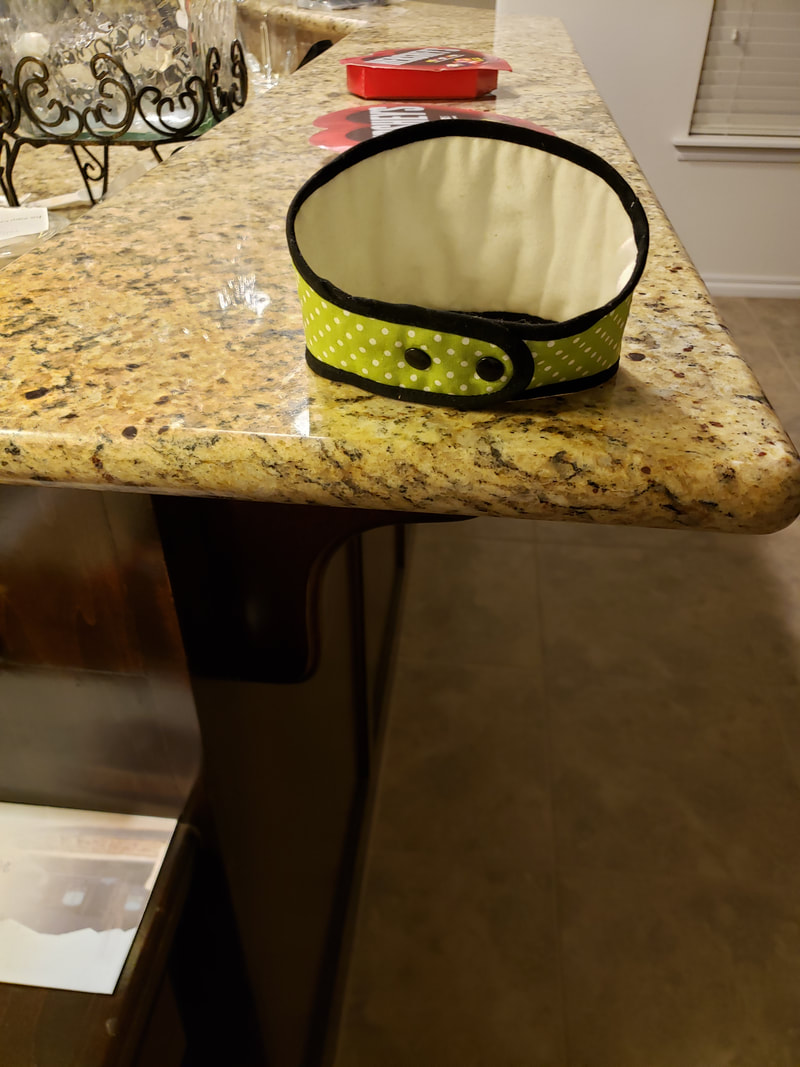
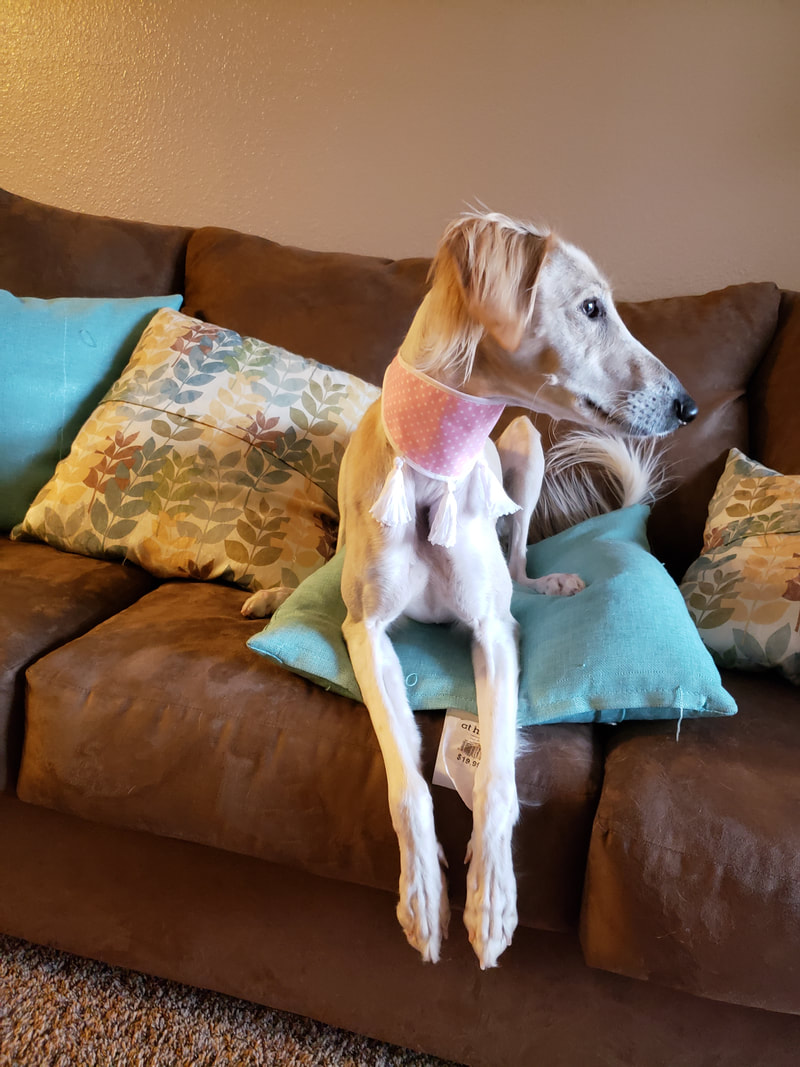
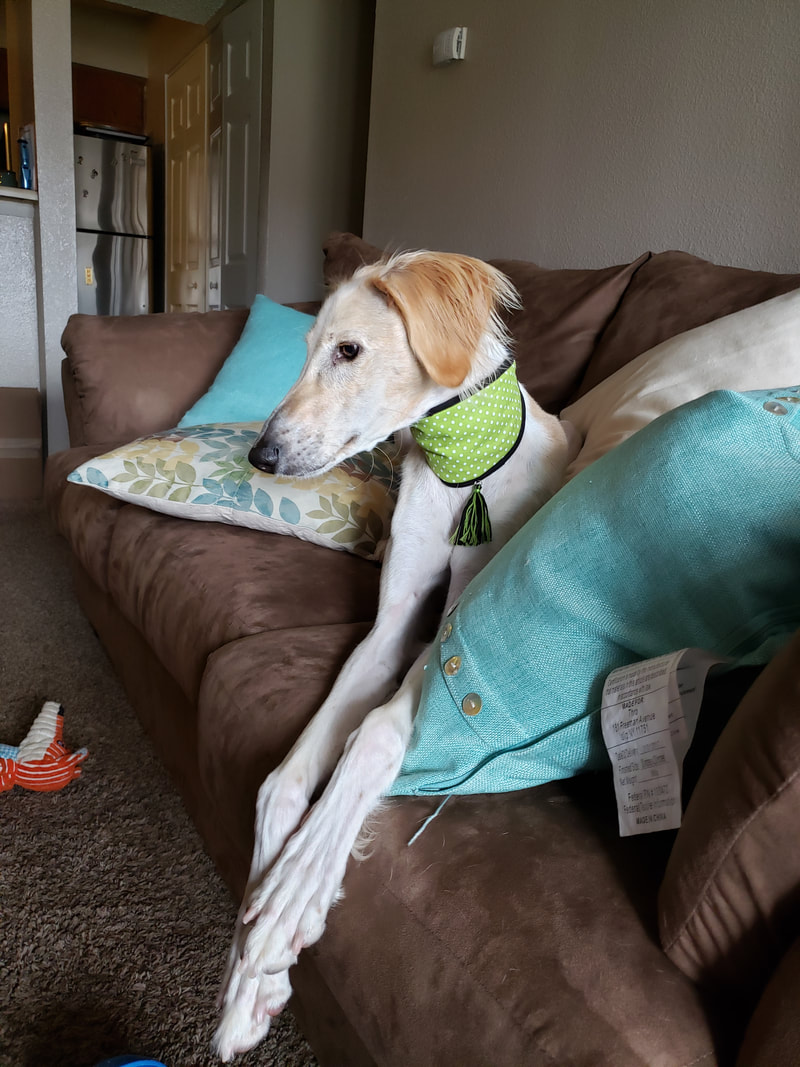
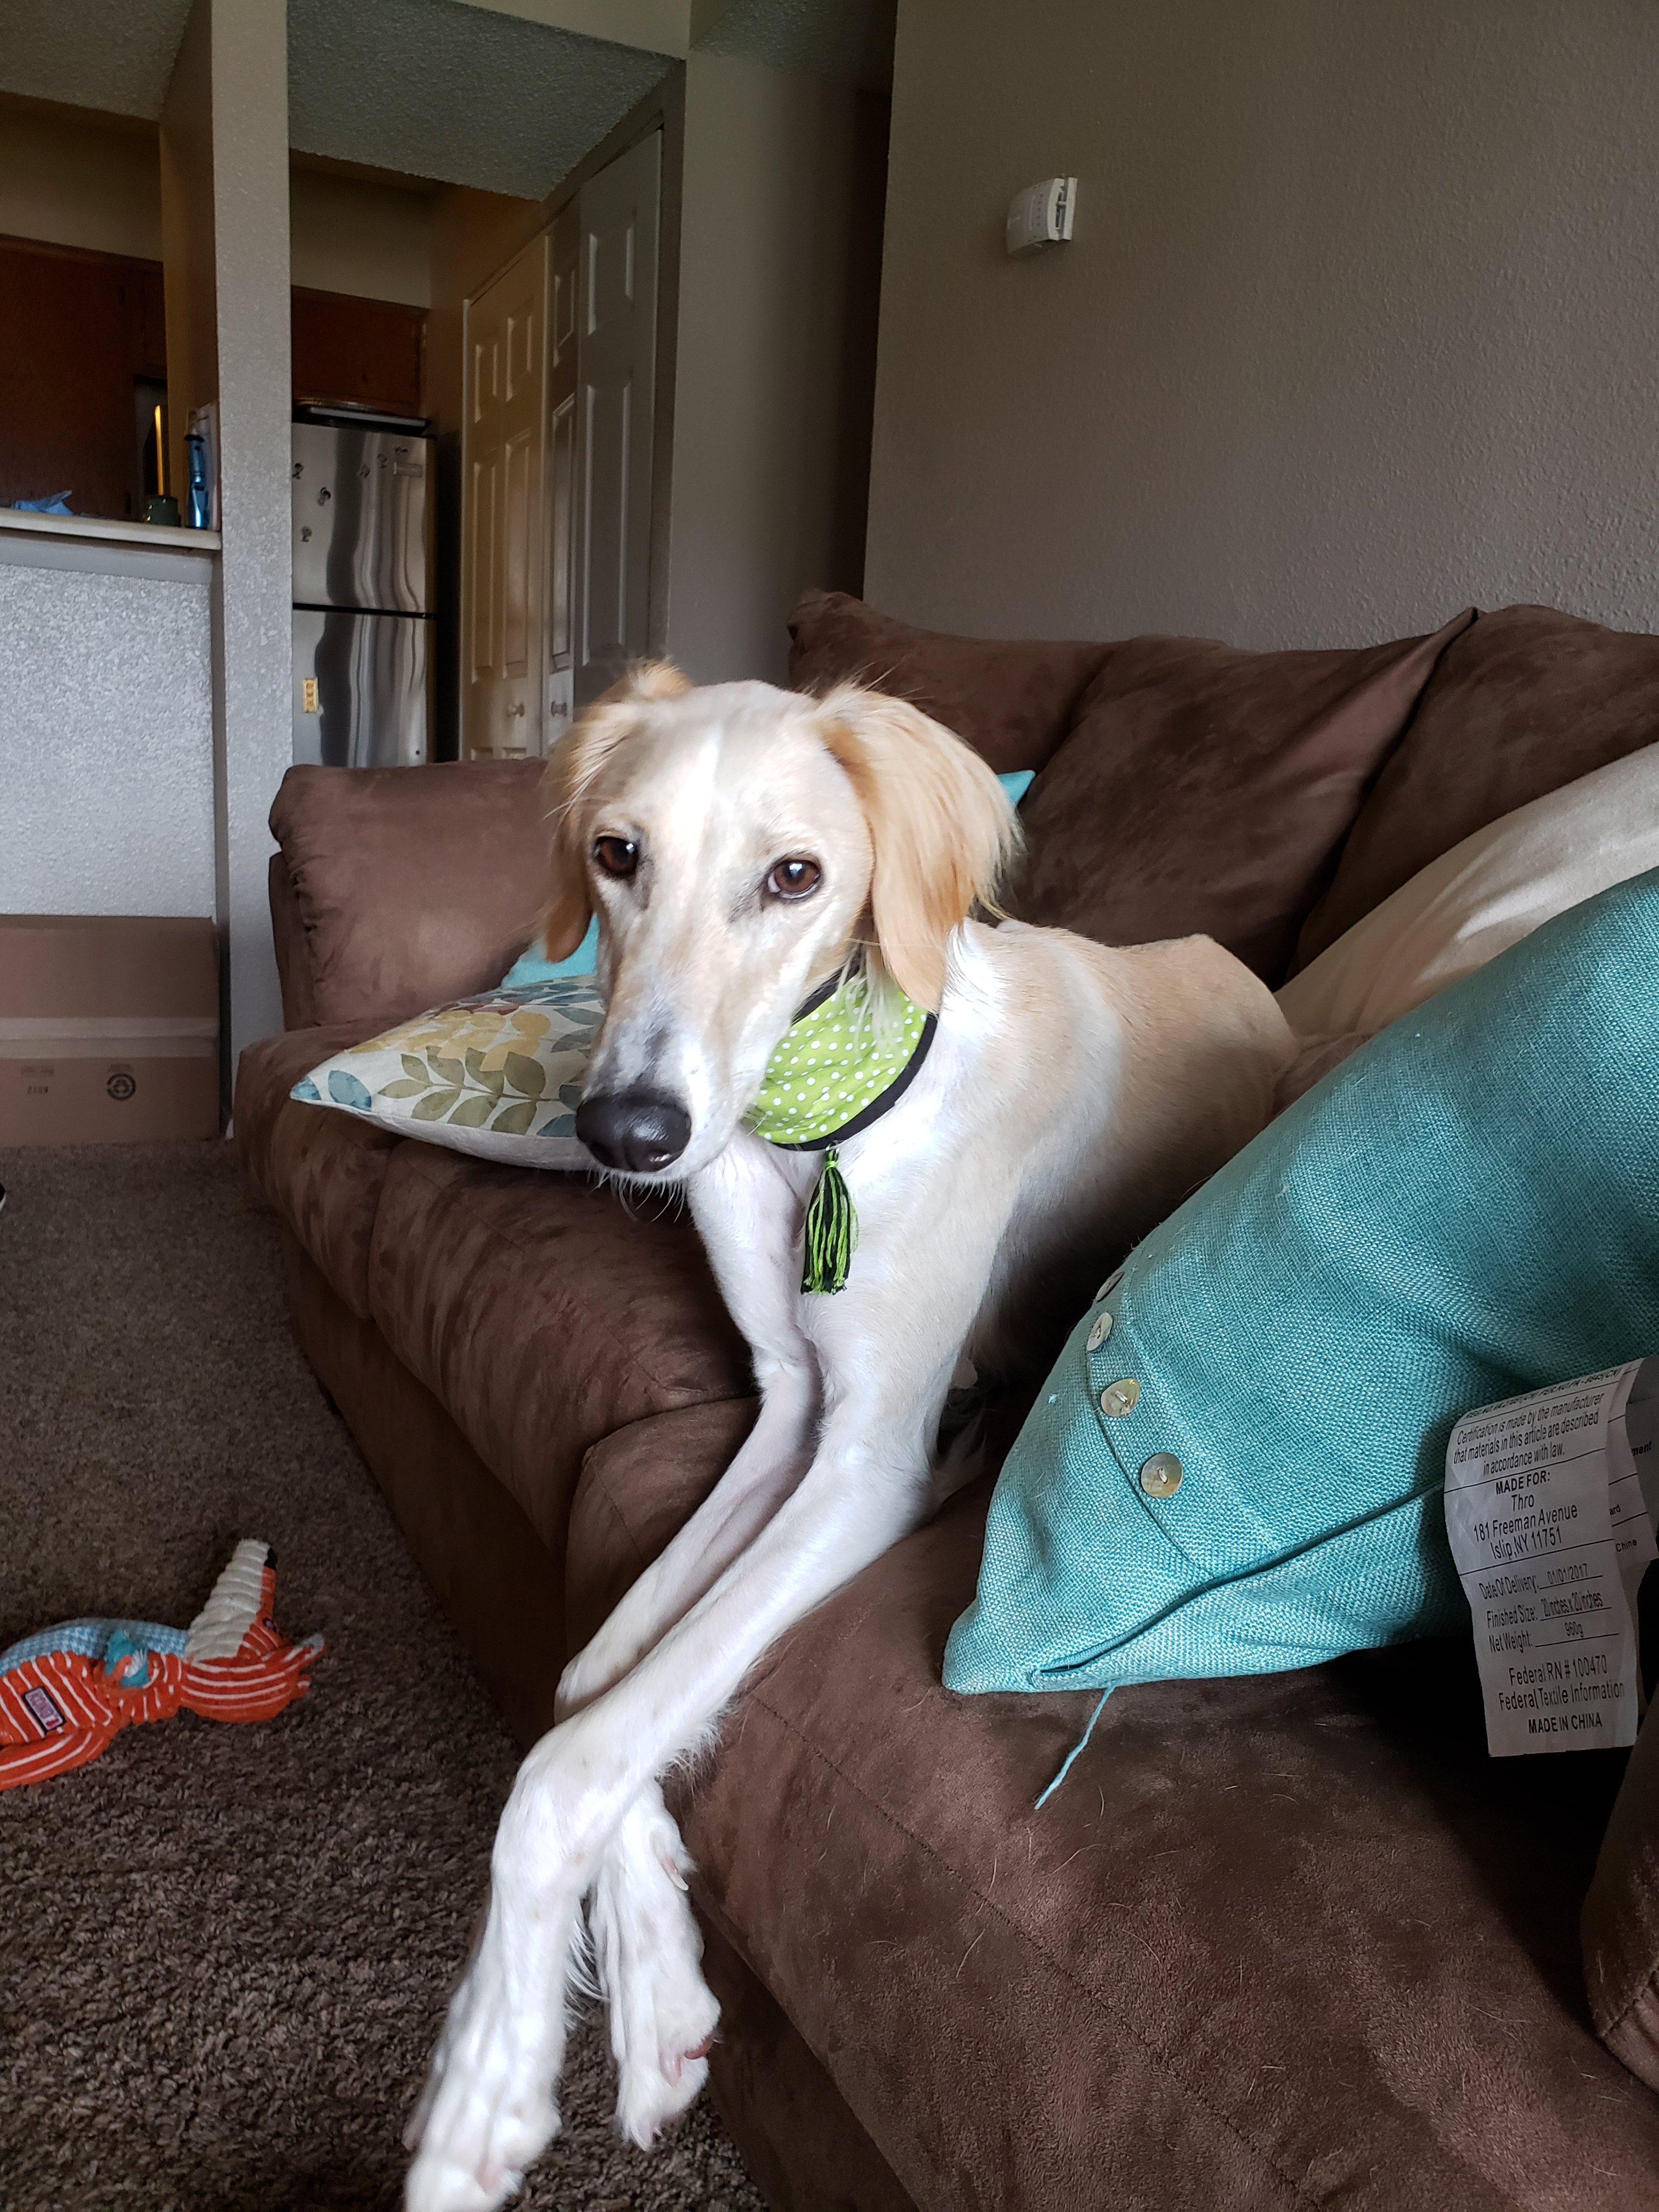
Well, with Christmas being just around the corner, I thought I would get busy and make a Christmas collar for my granddogger. I enjoy making all of her collars because the combination of colors and patterns to choose from is endless. I cut the fleece about 2 1/2 inches wide (SA were 1/4 in) so that her neck is warm on those cold winter days. I made and added the pompom to give the collar a playful look. Shasta has always hated anything being slid over her head, so that is why I always add a buckle to her Martingale collars.
0 Comments
Simplicity Pattern 1239This is Simplicity Pattern 1239. The coat is view D. For more info, click here.
Covid-1984 Face Mask With A ZipperI wanted to try sewing a face mask with a zipper. This one is not lined. I just wanted to focus on placement of the hole for the mouth. My first attempt at this, I had the the zipper about 1/2" too high and 1/2" off-center. The photo you see is the 2nd attempt and the fit was just about perfect.
I made this face mask using a pattern I found online, the link is below if interested. I like the look of this classic style. I chose to keep the color scheme simple, but I did choose to use a print for the lining on the blue face mask. the pattern does have a pocket for the filter. A pm2.5 filter is suggested but I would have had to purchase it from a seller in China. This pattern has 4 pieces and uses bias tape, but that step can be omitted. The elastic can be placed behind the ears or behind the back of the head.These take a bit more time to sew together than most handmade face masks because you are attaching bias to the mask. I have decided to personalize each face mask that I make.
So, I have finally started on the Martingale dog collar. I was going to make an adjustable collar, but I decided to just make it a custom fit. I used faux leather and sherpa fleece to line it. I had thought about embroidering on the front of the collar but got a little distracted and didn't do it, so I embroidered on the control loop, instead. I was going to line and edge stitch the control loop, but I didn't give myself enough room on the bottom to do the edge stitch. I added rivets to the collar. I didn't have bronze D rings, so I had to use silver rivets to match the D rings. Next, is fitting this on Shasta and seeing how it will work out.She is a puller, but lately, has been showing a lot of progress on our walks. These are the steps I use to get a nice finished project. It took me several tries of ripping out seams and repeating the steps. When you do practice, make sure your stitch length is set to a long length. The last 2 photos in the gallery show what the finished project looks like after using blue and beige thread, invisible on the outside. At one time, I thought I could never stitch-in-the-ditch even if it meant saving my life. But, with practice, practice and more practice, I can say I finally learned how to do it. I used my Brother PQ1500sl (love this sewing machine) for this project. You can click on the gallery photos to see magnified view of the steps Gallery Photos Step 1 Make sure your main fabric is cut straight. Place right side of bias tape along right side of main fabric and pin together and sew down the creased line closest to the edge of fabric and bias tape. Step 3 Let the left side of the foot be your guide. You will place inside (left) edge of the foot close to the edge of the bias tape. Step 4 Lower the needle down. The needle should penetrate the edge of the bias tape. If your foot is lined up with the edge of the bias tape (step 3), the needle should barely penetrate the bias tape, as shown. Note: Your needle is penetrating the seam that was sewn in step 1 Step 5 As you sew, you will hear the needle "thumping" through the seam. Check every now and then to make sure the edge of the main fabric is touching the inside fold of the bias tape. Notice how straight and close to the edge the stitch is on the wrong side and invisible on the right side. Well, I started on another sighthound dog collar, and this time I used faux leather that I purchased several years ago from Hancock Fabrics. This faux leather has a nice suede backing, I have yet to find more FL like this. I also had some fleece scraps that I had used to make Christmas stockings. I thought the combo would look nice. I used Coats Extra Strong thread to stitch around the collar. I had some small swivel clasps and added it to the collar to hold Shasta the Saluki's id tag that I made using Shrinky Dink inkjet paper. I used metal snaps to hold the collar in place. I think the pattern needs a few modifications before I make a martingale or quick-release collar. I think I will make it just a bit more narrow in the center and lose the rounded ends. I could have added an embroidery design...but that will be another project, perhaps for Memorial day.
Ok, Here is Shasta the Saluki modeling the almost finished collar. I have not decided if I will place a tassel or purchase/make black dog tags to attach to the band, or I might try making a pet ID tag using Shrinky Dink. The band is bound with bias tape and flannel is used as the lining on the underside. I used Kamsnaps as the method of closure for this band. You can see in the middle picture where I placed two snaps so that it can be adjusted. Well, I will continue trying to perfect the band until I have come up with a design that I like.
|
Categories
All
Archives
November 2021
|