So, I have finally started on the Martingale dog collar. I was going to make an adjustable collar, but I decided to just make it a custom fit. I used faux leather and sherpa fleece to line it. I had thought about embroidering on the front of the collar but got a little distracted and didn't do it, so I embroidered on the control loop, instead. I was going to line and edge stitch the control loop, but I didn't give myself enough room on the bottom to do the edge stitch. I added rivets to the collar. I didn't have bronze D rings, so I had to use silver rivets to match the D rings. Next, is fitting this on Shasta and seeing how it will work out.She is a puller, but lately, has been showing a lot of progress on our walks.
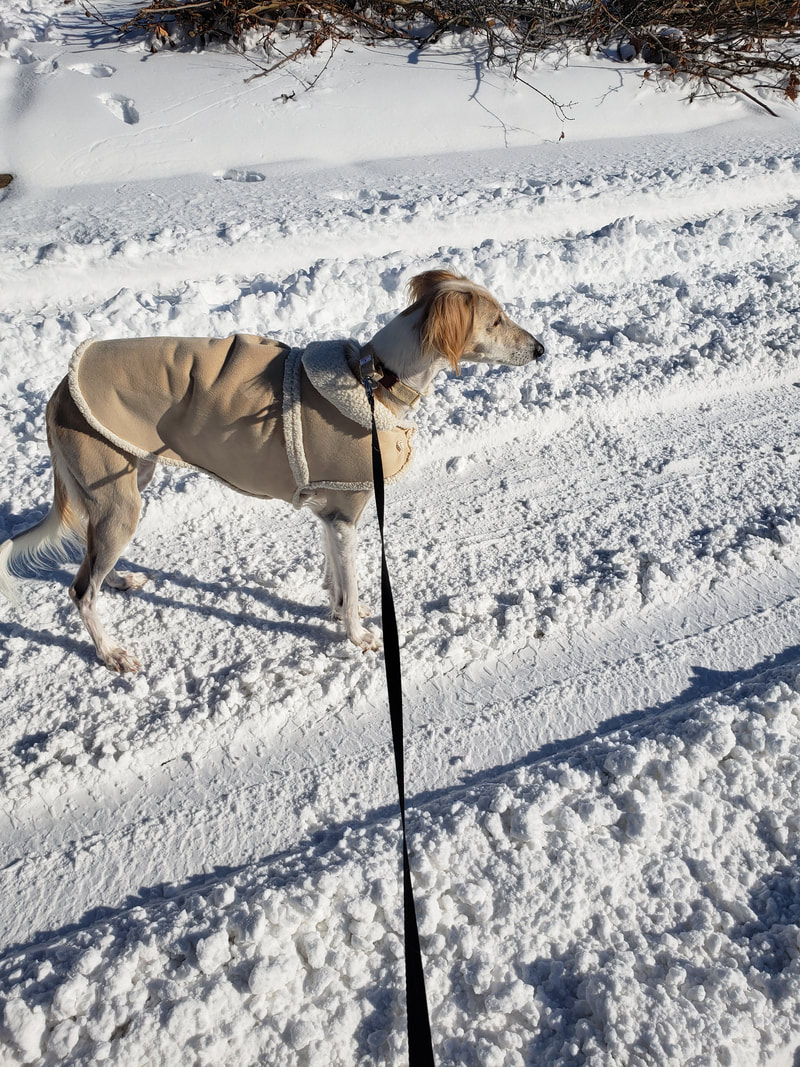 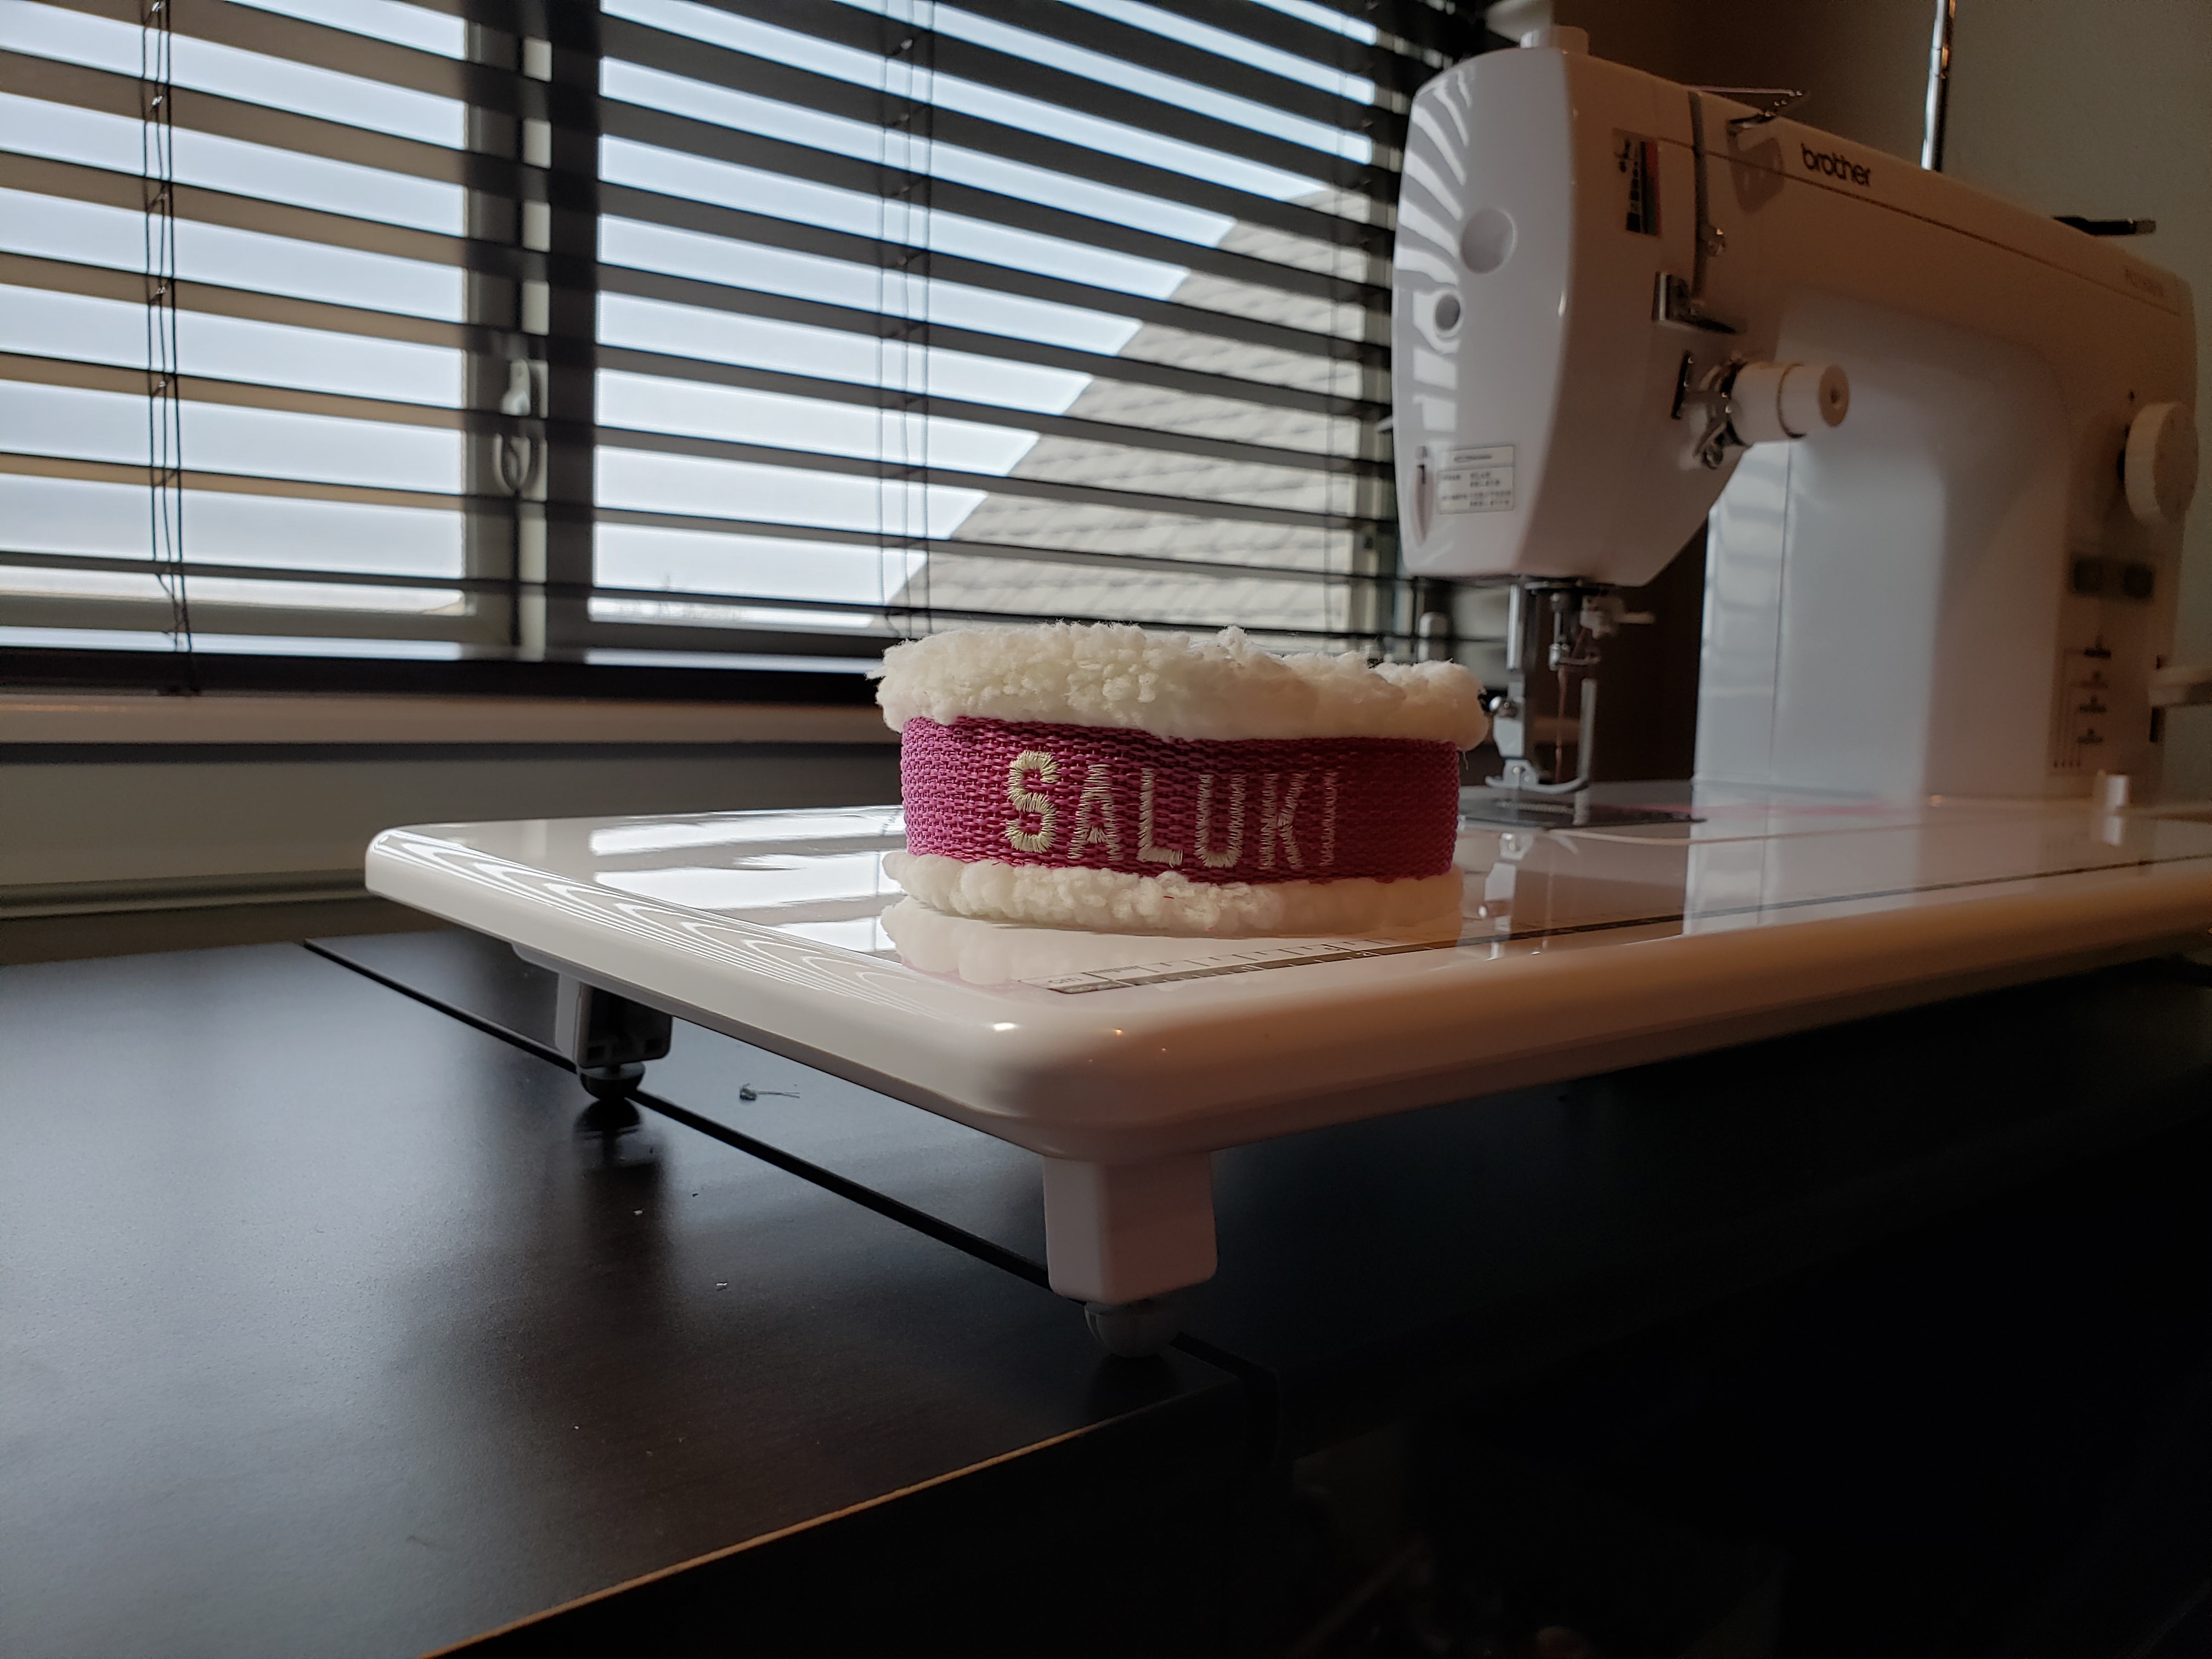 Saluki Hound Martingale Collar 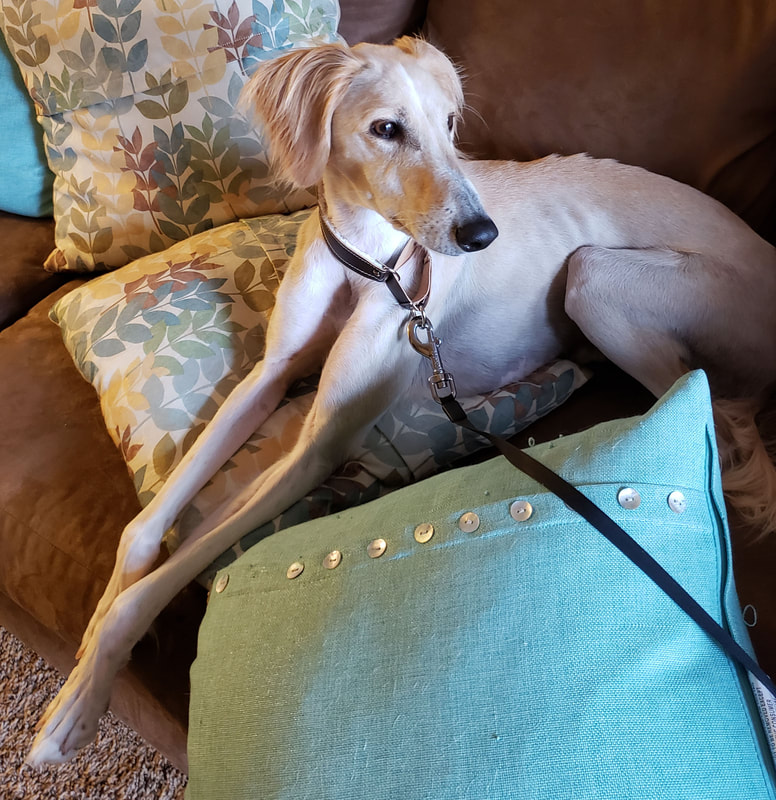 Martingale Sighthound Collar 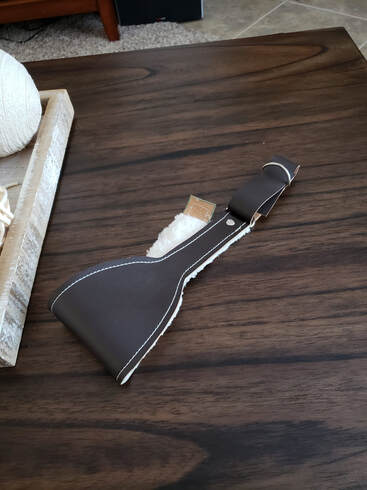 Martingale Dog Collar 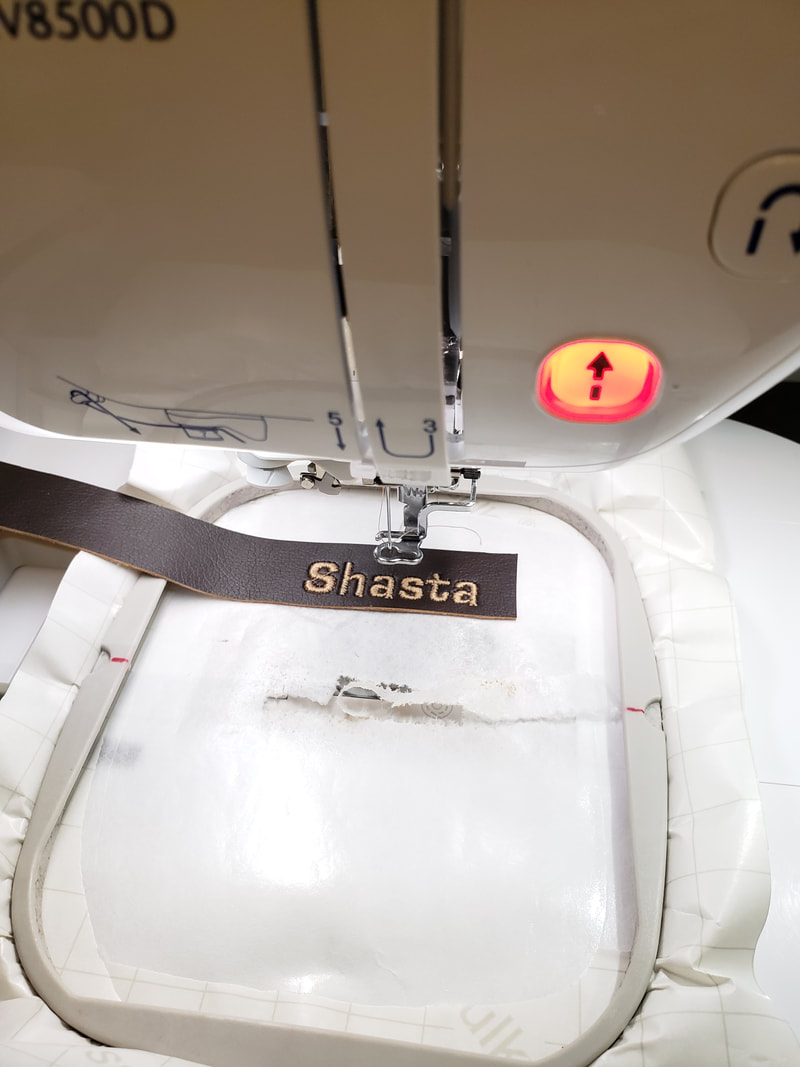 Embroidered name on control loop |  Martingale Collar 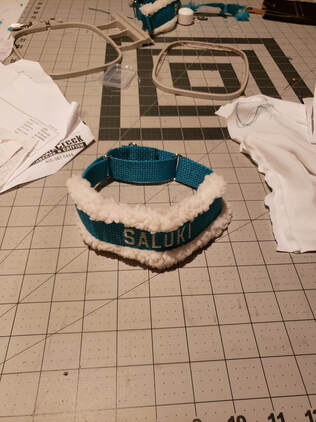 Martingale Collar 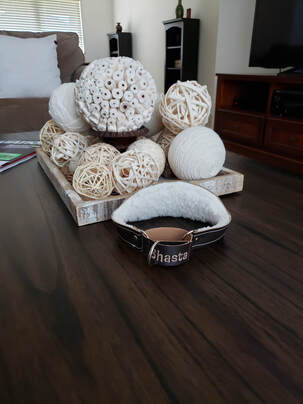 Martingale Dog Collar lined with Fleece 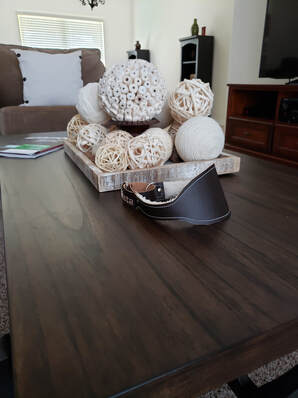 Martingale Dog Collar side View |