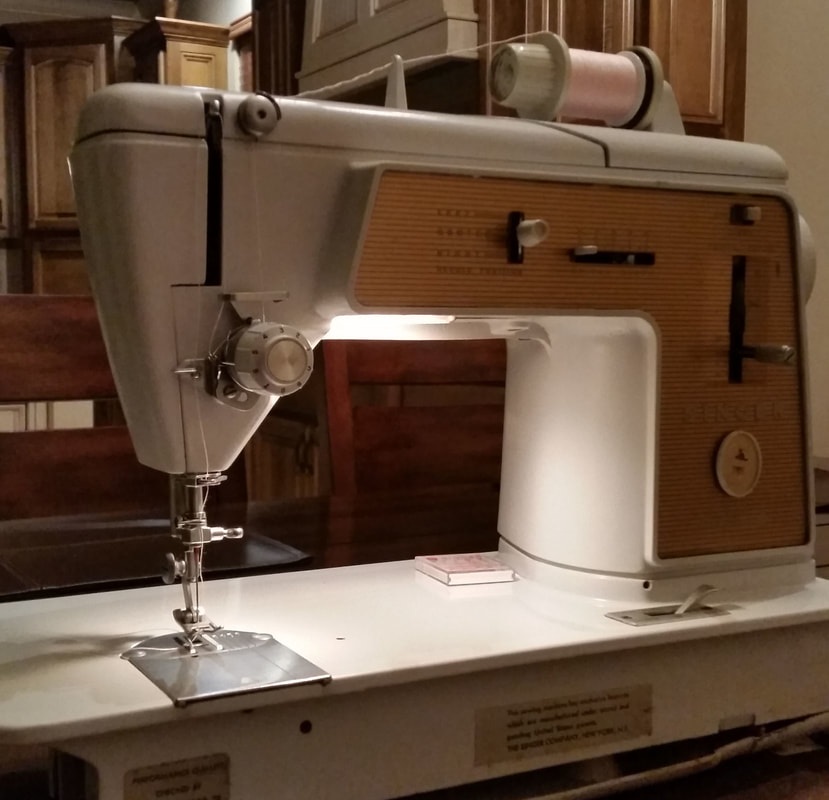
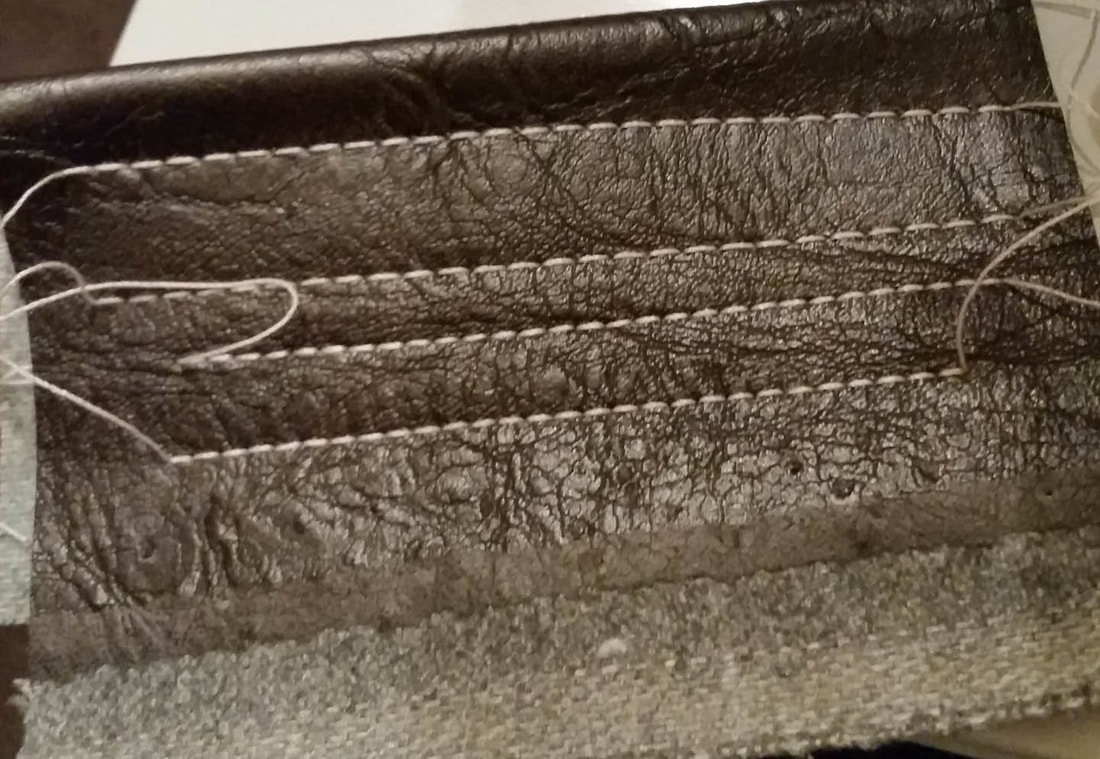
After a couple of days of test sewing on my Touch and Sew, I was becoming a little annoyed at always having to pull out 6-8 inches of thread before placing the needle In the fabric to begin sewing. My tension setting was on 3. I changed the dial to 1, and it was still too tight. I sew with my tension dial at 3. If I had checked it sooner, I would have discovered that the dial was off. I decided that I would have to take the tension assembly apart because the problem was not going to go away on its own.
I did not want to take my $30. machine to a repair shop and be charged more than the machine cost, so for 2 days I researched how to disassemble and reassemble the tension assembly. I took a few pics as I dissembled some of the parts of the assembly . When I took the dial off, It looked as though someone realized they had a tension problem, too, and wanted to fix it without taking it to a repair shop. If you know how the tension assembly is put together, can you spot the mistakes made?
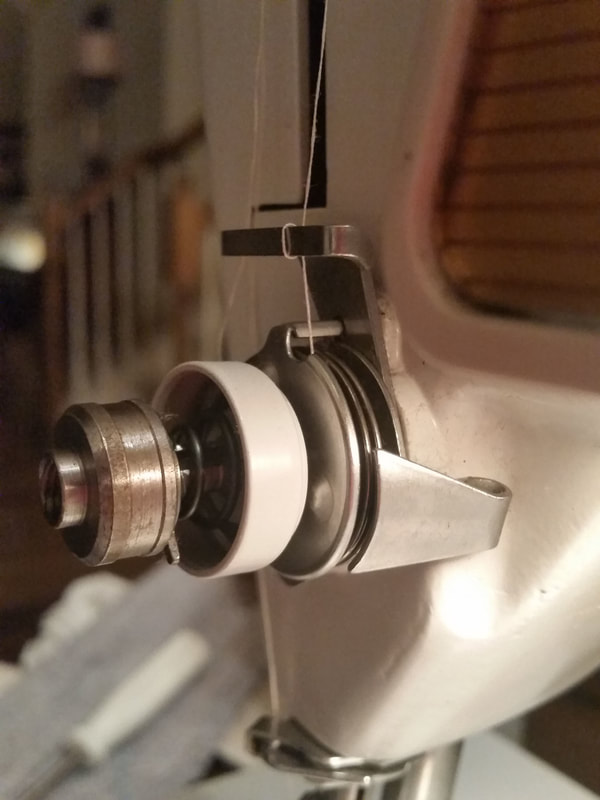
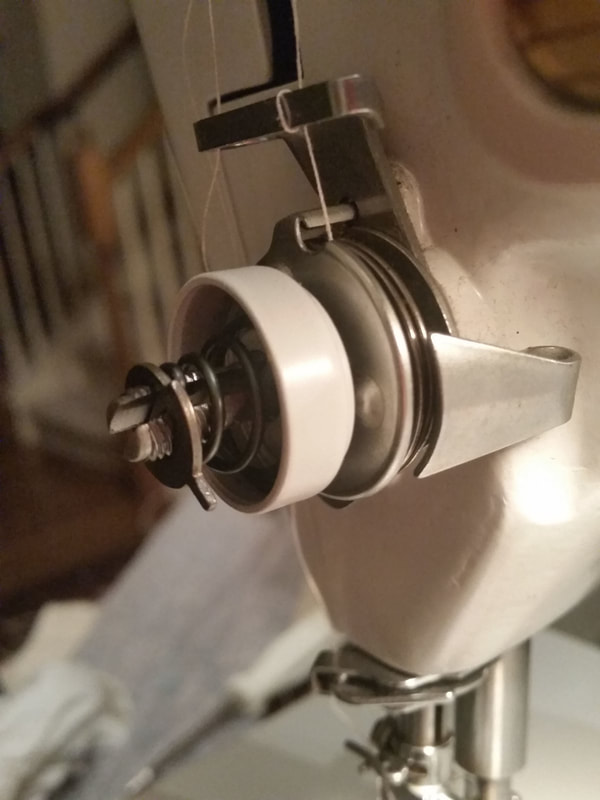
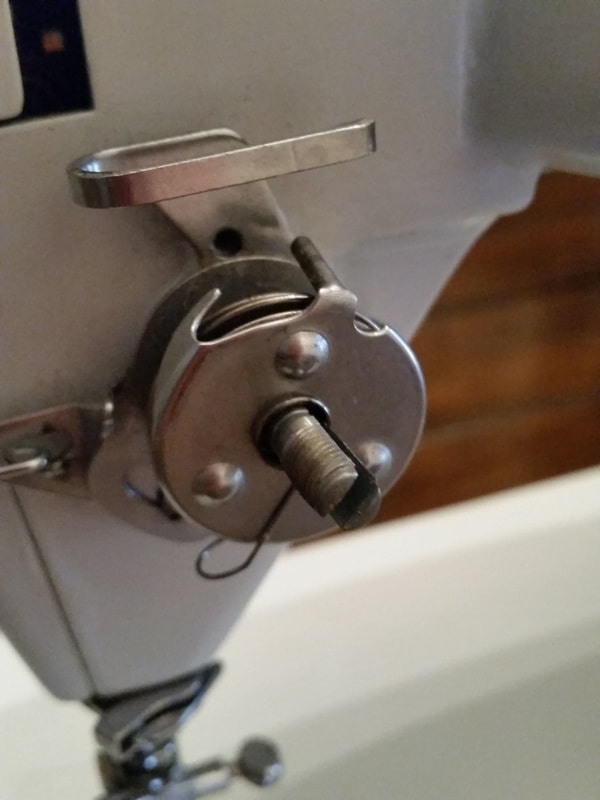
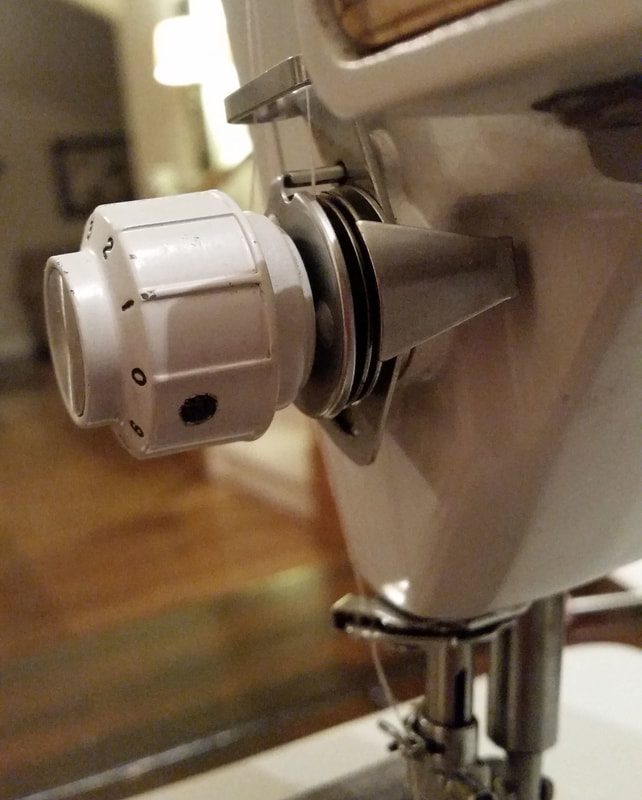
After removing all the pieces, I wiped them down with alcohol to remove the oil. After cleaning I began to place them back on in the correct order. I then realized (first mistake) that the stud was not at 180 degrees. If you look below in pictures 2, 3 and 4, it looks like it is somewhere around 100 degrees. I tried turning it back to 180 but had to get hubby's help. There is a screw inside the nose of the machine that I should have loosened to turn the stud. The second mistake is the Pin with the finger that you see in pics 1 and 2. I watched several videos and each person stated the pin must always be pointing up. In the pic it's in a 5 o'clock position. Well, I placed the pin in the 12 o'clock position, placed the dial (last step) on. Instead of the dial going from 0-9, it went from 4 and back to 4. I just knew that I was doing something wrong because each person who demonstrated how to assemble the tension assembly said the pin must "always" be in the up position. After 30 min or so, I knew that this was not true for the Touch and Sew 603. The pin had to be in the down position (6 o'clock). After I repositioned it and placed the dial on, the dial went from 0-9. The last picture shows the tension assembly repaired and cleaned.
I plane to do a video sometime soon to demonstrate how to disassemble and reassemble the tension assembly.
I did not want to take my $30. machine to a repair shop and be charged more than the machine cost, so for 2 days I researched how to disassemble and reassemble the tension assembly. I took a few pics as I dissembled some of the parts of the assembly . When I took the dial off, It looked as though someone realized they had a tension problem, too, and wanted to fix it without taking it to a repair shop. If you know how the tension assembly is put together, can you spot the mistakes made?
After removing all the pieces, I wiped them down with alcohol to remove the oil. After cleaning I began to place them back on in the correct order. I then realized (first mistake) that the stud was not at 180 degrees. If you look below in pictures 2, 3 and 4, it looks like it is somewhere around 100 degrees. I tried turning it back to 180 but had to get hubby's help. There is a screw inside the nose of the machine that I should have loosened to turn the stud. The second mistake is the Pin with the finger that you see in pics 1 and 2. I watched several videos and each person stated the pin must always be pointing up. In the pic it's in a 5 o'clock position. Well, I placed the pin in the 12 o'clock position, placed the dial (last step) on. Instead of the dial going from 0-9, it went from 4 and back to 4. I just knew that I was doing something wrong because each person who demonstrated how to assemble the tension assembly said the pin must "always" be in the up position. After 30 min or so, I knew that this was not true for the Touch and Sew 603. The pin had to be in the down position (6 o'clock). After I repositioned it and placed the dial on, the dial went from 0-9. The last picture shows the tension assembly repaired and cleaned.
I plane to do a video sometime soon to demonstrate how to disassemble and reassemble the tension assembly.


 RSS Feed
